
We're using the technique Lisa showed us in her Rouleaux Straps post.
For this tutorial you need to have your dress almost finished. This step is the finishing touch!
To make the button loop you're going to need:
- dress fabric
- loop turner
- patternmaster/ruler with diagonal markings
- scissors
The first thing we need to do is make our bias strips. Bias strips are, as the name suggests, strips of fabric, cut on the bias. The bias of the fabric is 45 degrees to the grainline.

Mark out your bias strips on the fabric. We like to use a patternmaster to help with this step - it has diagonal markings on it which are so useful.

Once you have drawn out your strips, cut them out.
We're making our strips a bit longer than we need to to show you how to join two strips together. You can then make rouleaux loop straps if you like.

Place the two ends together with the points slightly overlapping. Sew diagonally across this join, backstitching at both ends. Open this new longer strip out and press the seam open.

Fold the strip in half lengthways and press.
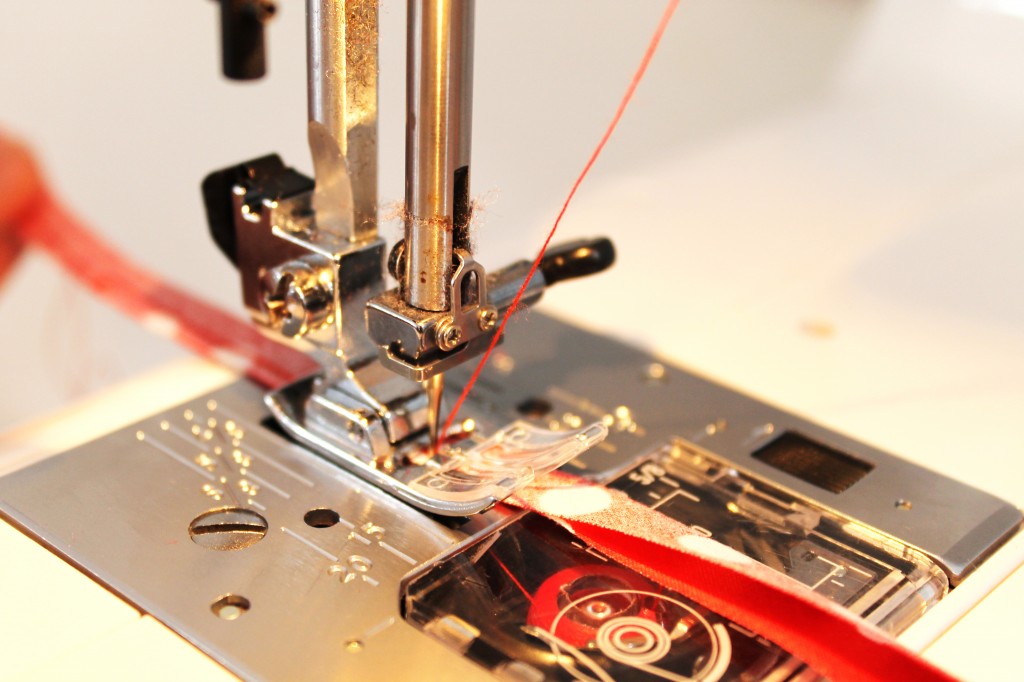
Next we're going to sew the strip to make a tube. Keeping a few millimetres away from the raw edge, sew all the way down the strip, backstitching at the beginning and end.

Now the fun bit, we need to turn it inside out! Insert your loop turner into the tube, and using the little hoop, hook it onto one end.
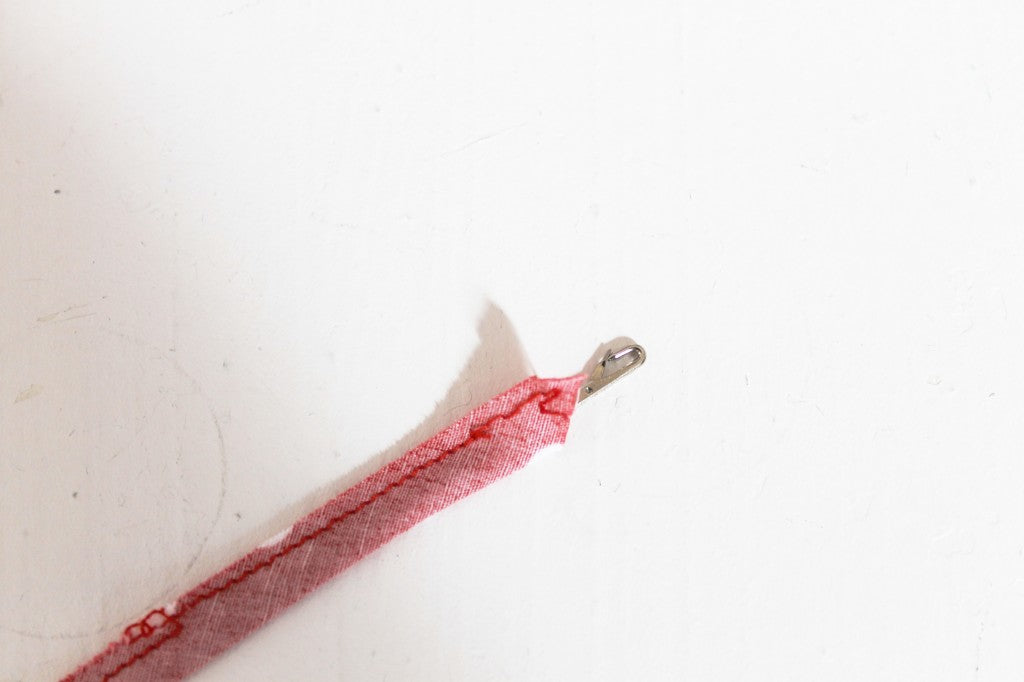
Gently pull the loop turner, turning the tube inside out. Magic!

If, like us, you have made your loop a bit long, snip it down to your desired length. Make sure your button is going to fit through!

Folding it in half, sandwich the loop in between the dress and the facing and on the line of stitching you have already sewn, topstitch the loop in place.

And ta da! Done! Now all you have to do is sew your button on and you've finished!