Before we get to any sewing we're firstly going to interfacing the facing pieces. You want to use a medium to heavy weight interfacing for this, in order to give the trousers a bit more structure in this area.
Iron-on fusible interfacing is the best for this. Place your facing pieces on the interfacing and cut around them. Making sure that the glue side of the interfacing, which is slightly shiny, is facing the wrong side of your fabric, iron the pieces together.
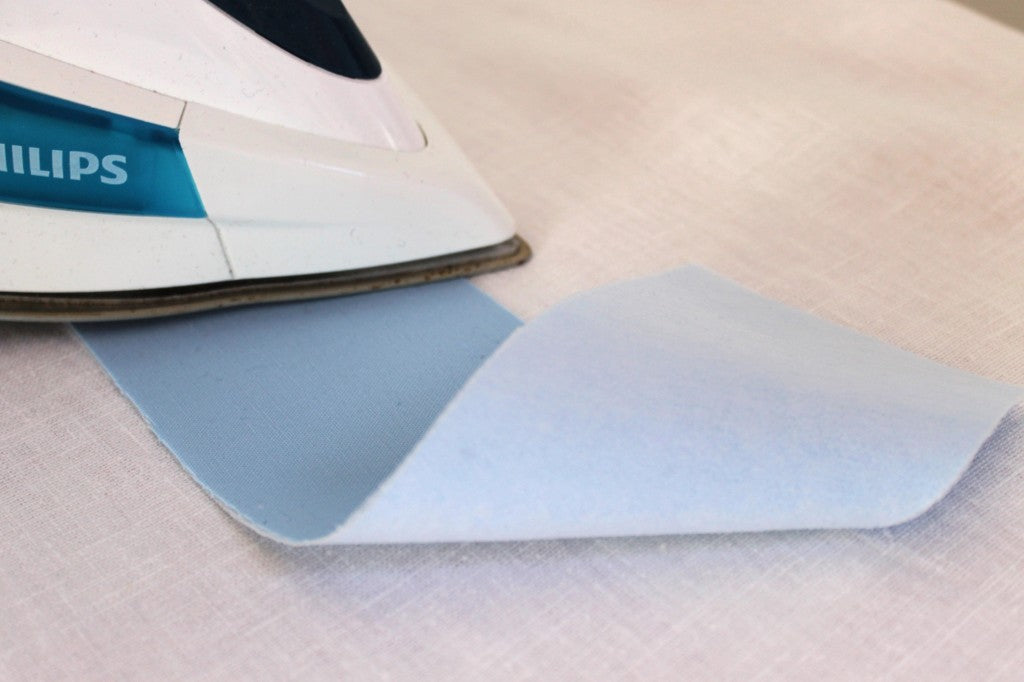
We like to use a bit of steam here, as it helps to melt the glue.
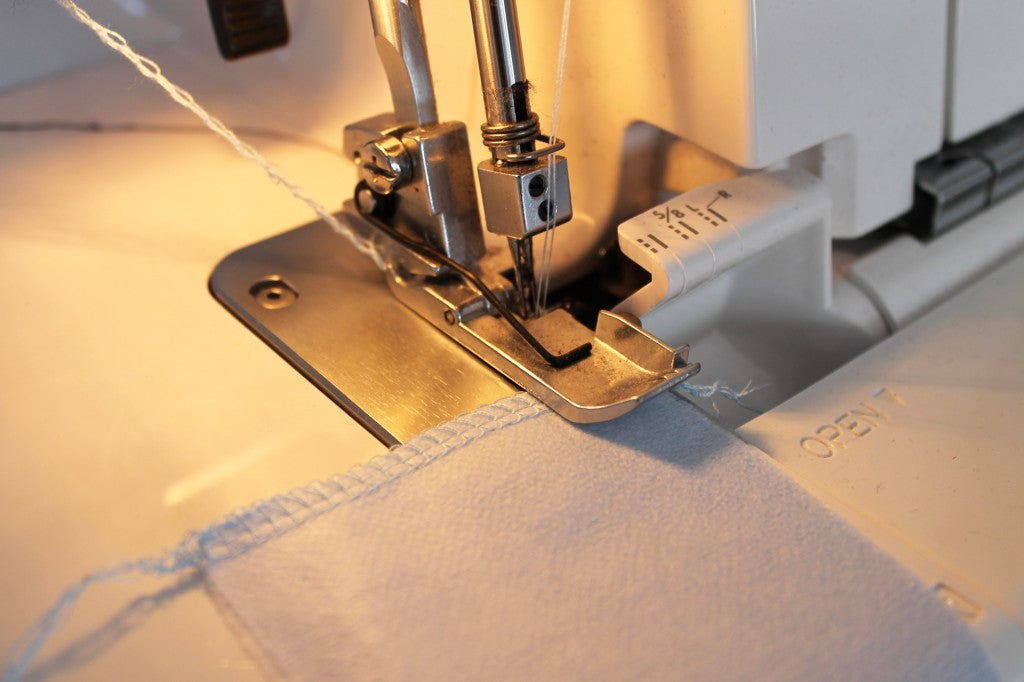
Once the interfacing is thoroughly stuck down, we need to finish the edges of the facing pieces.
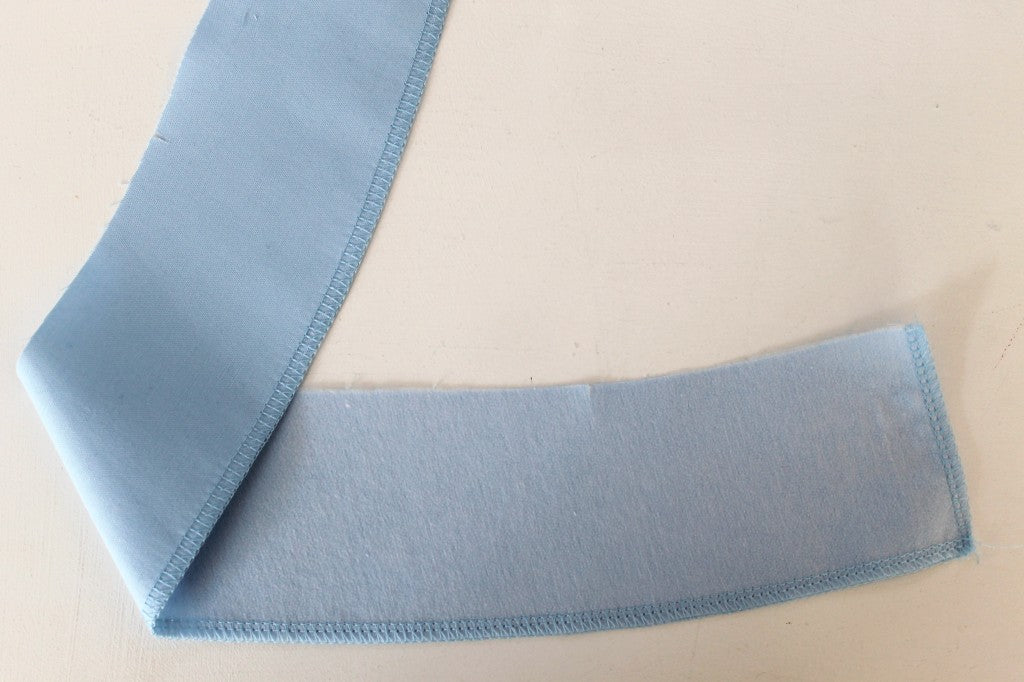
Overlock or zigzag all the way around the side and bottom edges, leaving the top unfinished.
Now we're going to attach the two facing pieces together to make one long facing piece. Place the front and back piece right sides together and pin at the right side seam only. Stitch this side closed, before pressing the seams open.
Now we're going to pin the facing piece to the top edge of the trousers, right sides together.
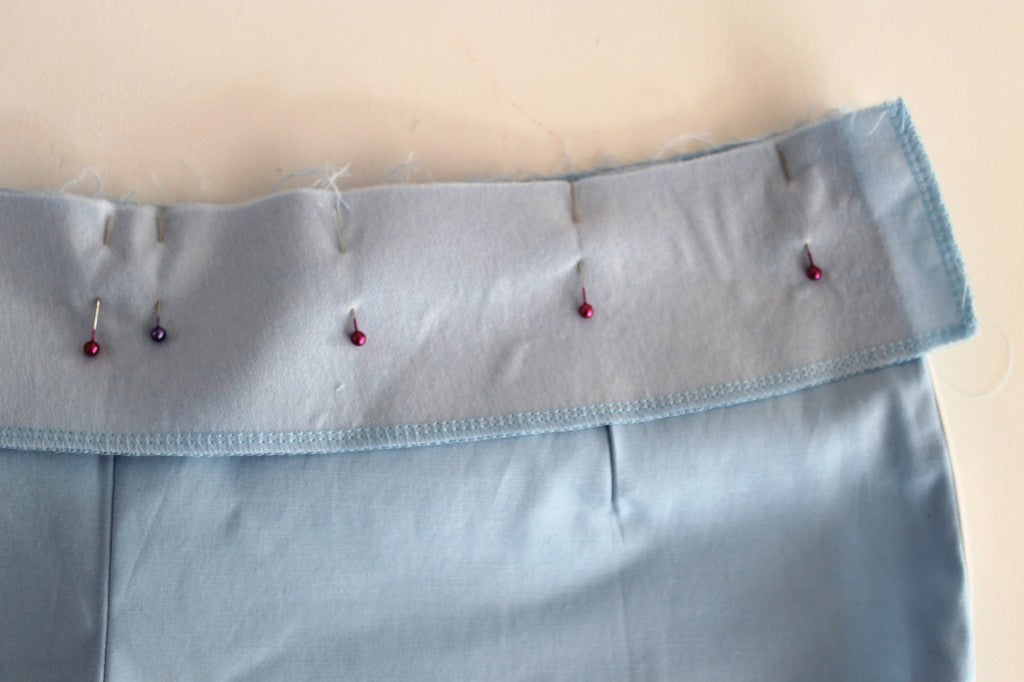
Line up the right side seam of the facing with the right side seam of the trousers, and match the notches with the darts. At the left side seam you will have an extra bit of fabric in the facing, but this is normal. We are going to fold this back on itself later to create a really neat finish.
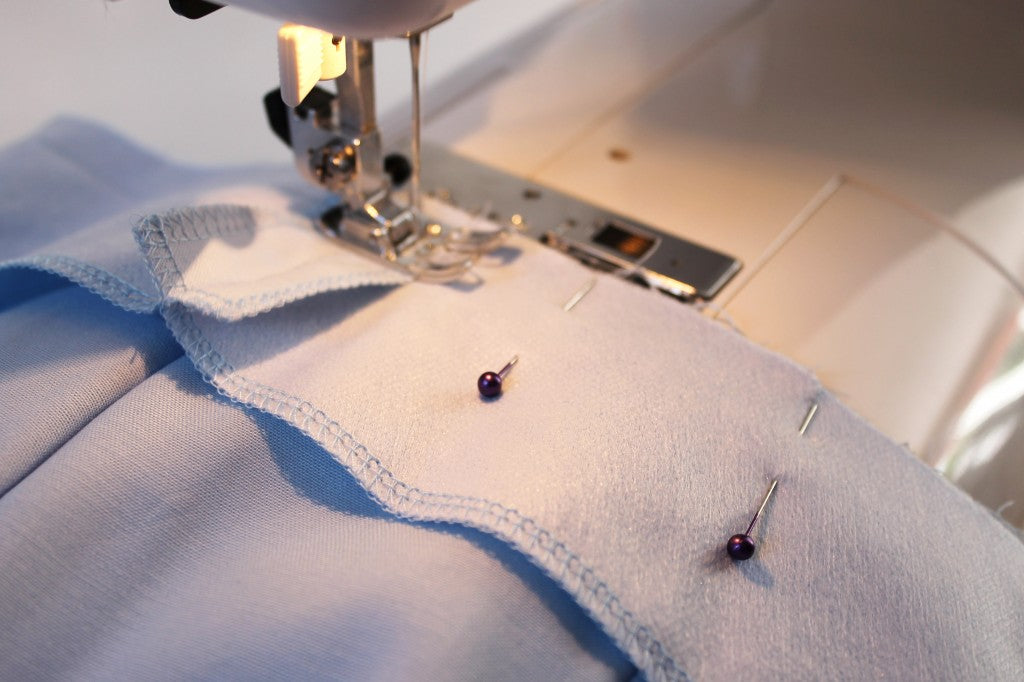
Sew the facing to the trousers using a 1.5cm seam allowance.
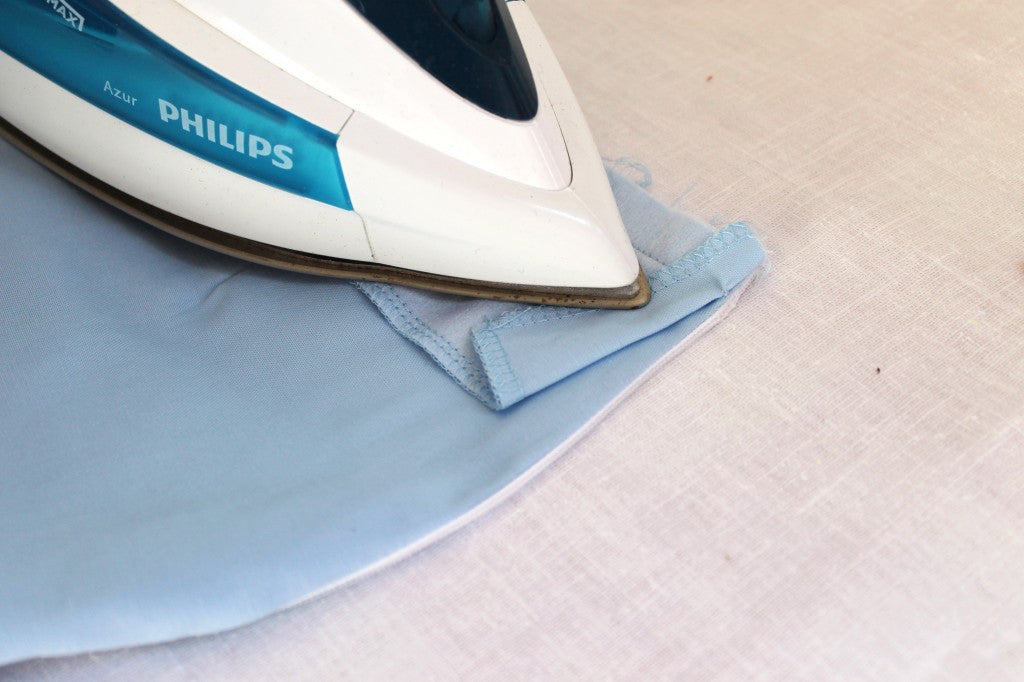
Stop stitching when you reach the end of the trousers, and backstitch. Fold the remaining facing back on itself and press in place.
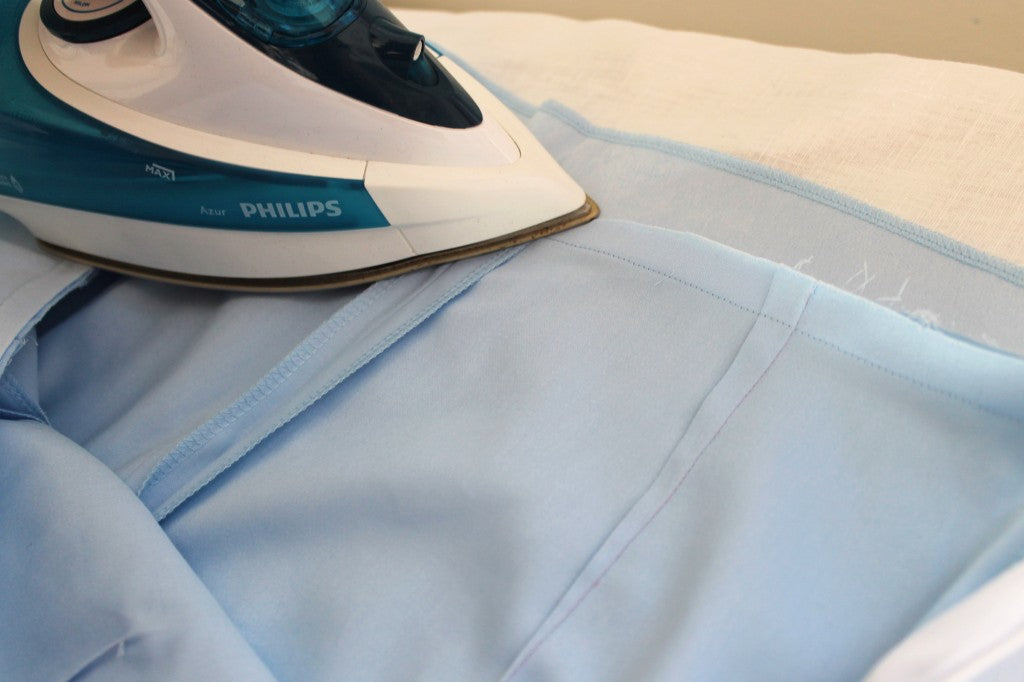
Press the seam allowance upwards towards the facing.

Then, to reduce bulk in the facing and to help it sit flat we're going to trim down the seam allowance to about 1 cm.
Because the waistline is slightly curved, if we fold the facing down at this point the fabric will pull at the waist seam and not sit correctly.
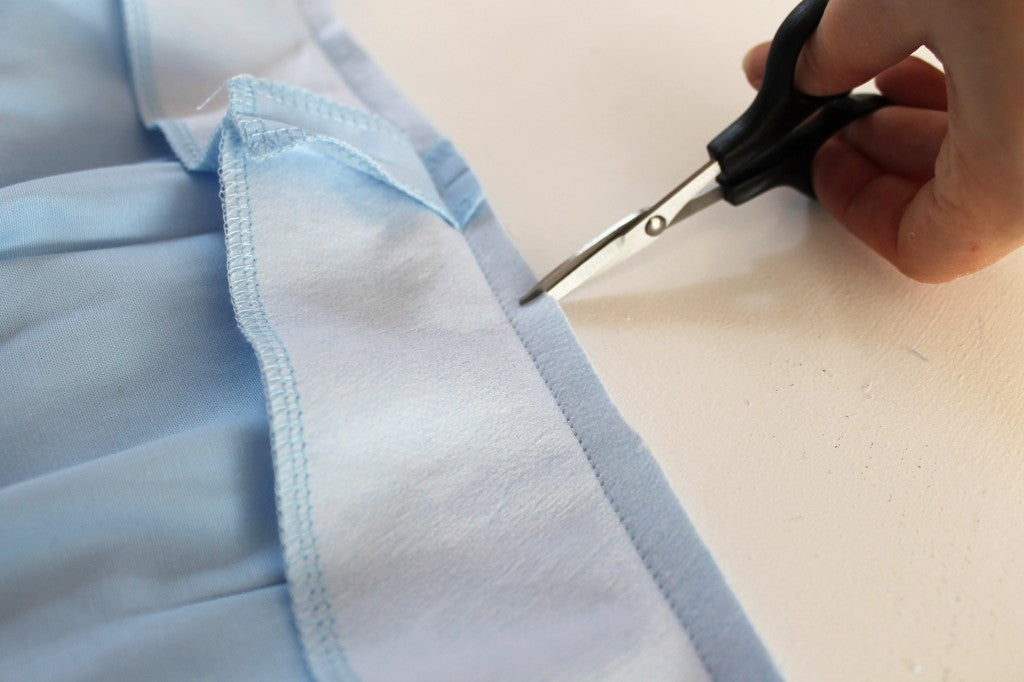
We need to reduce a bit of the tension on this seam by clipping into the seam allowance. With small, sharp scissors, cut little snips in to the seam allowance all the way around the top. Get as close as you can to your line of stitching without cutting into it. Disaster!
And one last step to keep the facing sitting nicely: understitching. Understitching is an essential step when attaching facings to garments. It helps them to stay firmly on the inside of the garment where they should be, and stops them from flipping out. Anybody who is into dressmaking knows how frustrating this can be.
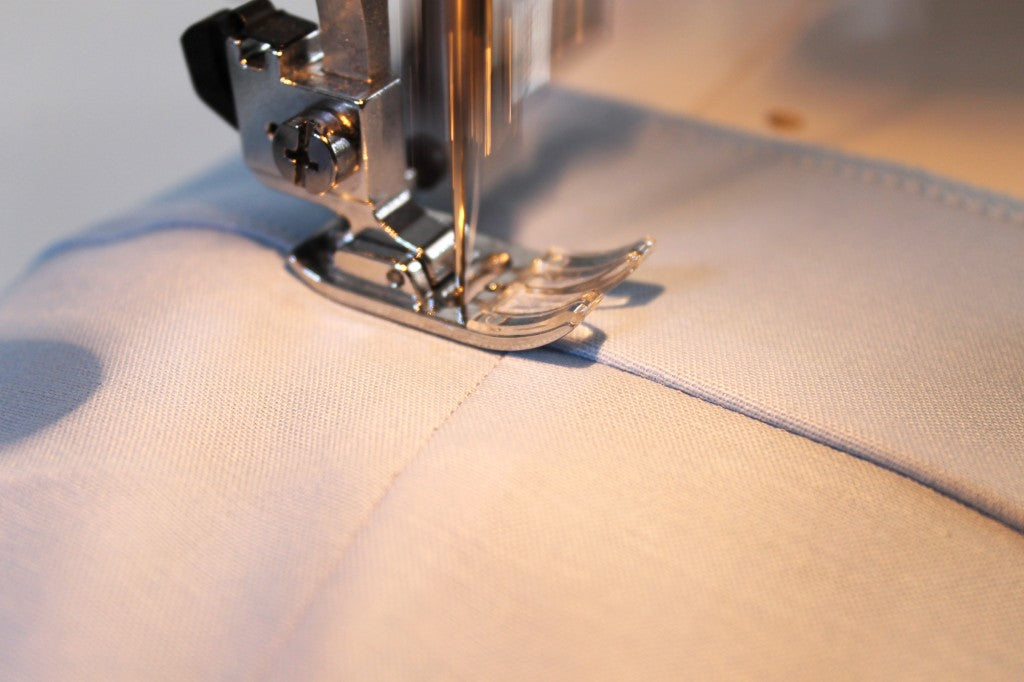
Understitching is the process of sewing the facing to the seam allowance. Making sure the seam allowance is firmly pressed up towards the facing, topstitch on the right side of the fabric all the way around the top of the trousers. Keep about 3mm away from the existing seam, and make sure you're sewing on the facing side and not the trousers side.
Once you have understitched, fold the facing onto the inside of the trousers and all that is left for you to do now is sewing the facing to the zip tape using a few handstitches. It's also a good idea to secure the facing to the seam allowance at the right side seam to doubly make sure it doesn't go anywhere.
And that's the facing done! If you have had any trouble with this step don't forget you can get in touch with us and we'll be happy to help.