Now we're going to be inserting the sleeves into the blouse - it's now that the blouse really starts to take shape!
The first thing we are going to do is sew our gathering stitches into the sleeve heads. Do you remember, we missed this step out earlier? So we're backtracking through the instruction booklet a little bit.
So that the sleeve fits into the arms, we need to gather it up slightly around the shoulder. It's important when you draft a pattern that you factor in the extra room for your shoulder, otherwise you wouldn't be able to lift your arms up or move properly. The whole thing would be a very uncomfortable experience!
It is now your job to get the two pattern pieces to fit together, and probably one of the simplest ways to do that is by gathering up the extra fabric in the sleeve head. So let's go!
Switching your stitch length on your machine to 4mm, stitch two rows of gathering stitches between the notches on the sleeve head. One of these rows should be 7mm from the raw edge, and the other should be 1cm away. Remember to leave long thread tails at either end for pulling on.
Don't pull on them just yet. We are going to sew the underarm seams first.
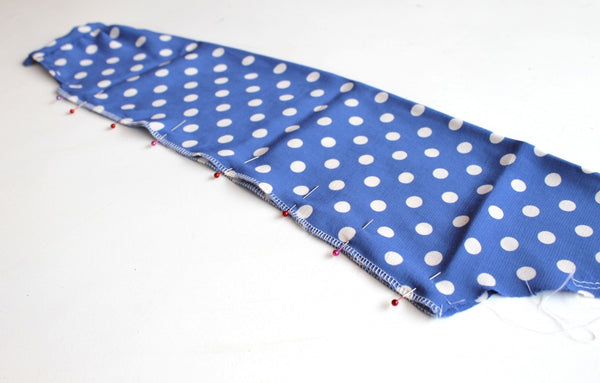
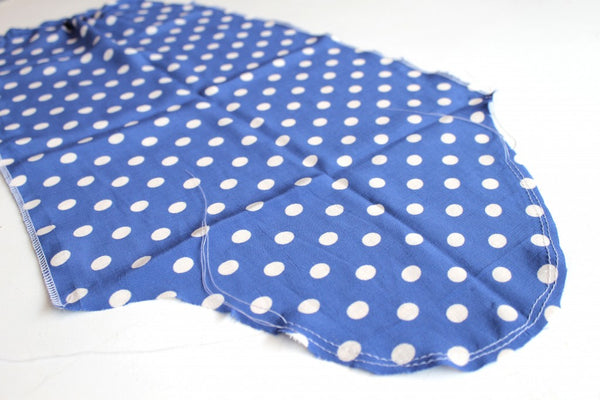
Taking one of the sleeves, fold it in half lengthways with right sides together. Pin the raw edges together down the length of the sleeve.
Turn your stitch length back to 2.5, and with a 1.5cm seam allowance, sew the underarm seam from the armpit to the notch at the top of the cuff opening. Put your needle down into the fabric and lift your presser foot up, getting ready to pivot.

We're now going to sew diagonally from the notch, across to the edge of the cuff opening. These few little stitches will stop your cuff opening from coming undone, and keep everything secure and in place.
Once you have done that, repeat for the other sleeve.
Turn your sleeves the right way out. With the blouse inside out, one at a time insert the sleeves into their corresponding armholes. You can tell which sleeve belongs to which armscye by matching up the single and double notches.
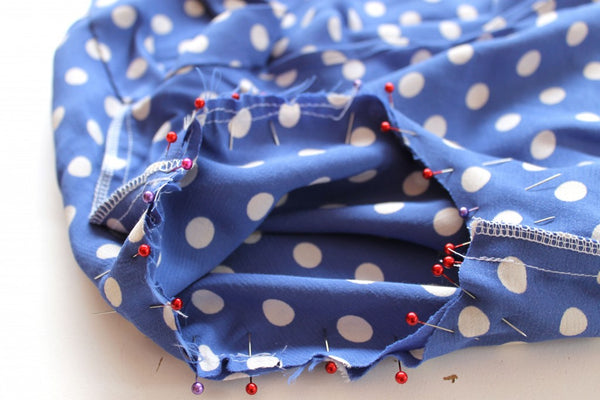
Align the underarm seam with the side seam of the bodice, and match up the central notches on the sleeve head with the shoulder seam of the bodice. Finally, match up the remaining single and double notches on the sleeve head with the corresponding notches on the armhole.
Pin all of these points in place, pull on the loose tails of your gathering stitches, and gently gather up the sleeve head until it is the same size as the armhole. Make sure that the gathers are even around the top of the sleeve.
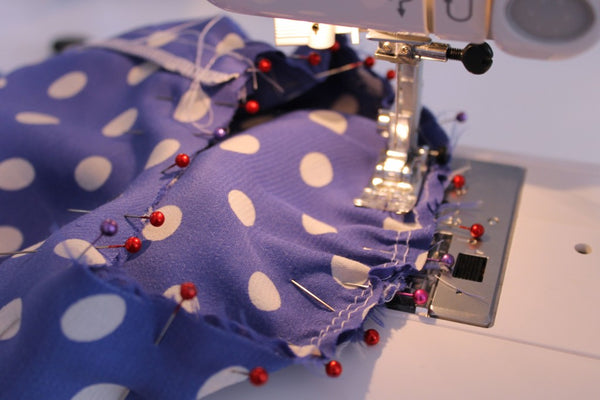
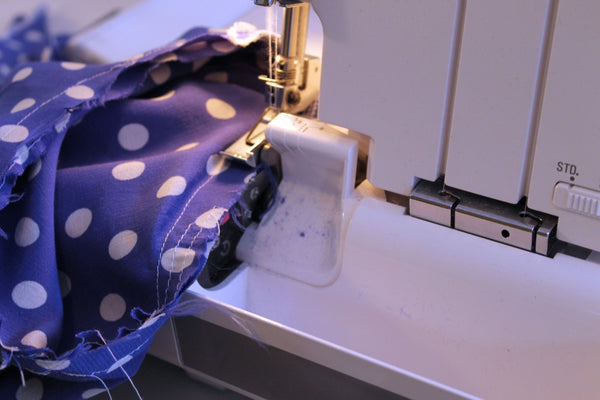
Using a 1.5cm seam allowance, sew the sleeve into the armhole starting at the underarm seam. We like to do this with the gathers face up so you can adjust them as you go.
Go slowly and adjust the fabric as it moves through the machine, making sure that both layers are flat. If not you could end up with unwanted puckers and pleats.
Once you've sewn all the way around, overlock or zigzag the raw edges. You don't want to press this seam because it would flatten your gathers. Agh, flattened gathers, what a hideous thought!
Repeat the same steps for inserting the other sleeve, and once you've done that you are done for today!
Version 1ers, we've still got that centre front seam to sew up.
If you need help with anything we have covered today, leave us a comment below and we will do our best to help.