Assembling the facing
Let's start with the side seams. We're going to French seam these as well.
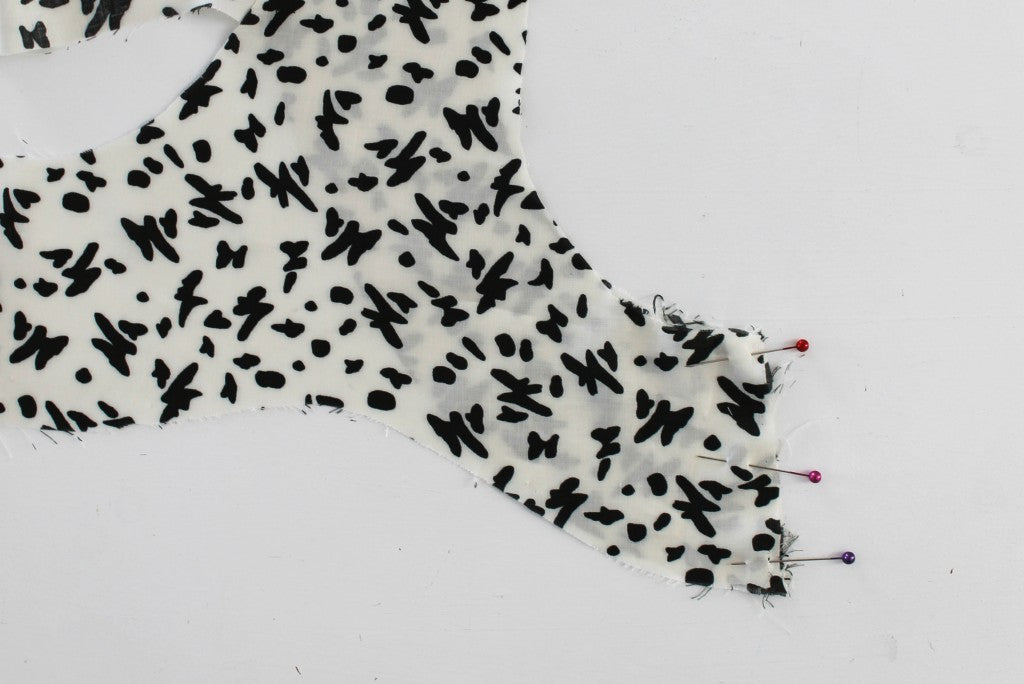
With WRONG sides together, pin the front facing piece to the back facing. Sew with a 0.5cm seam allowance.
Then, as we did for the cami pieces, trim this seam down by half. Press it, and turn the facing the other way out so that right sides are now together. Press again, and pin in place.
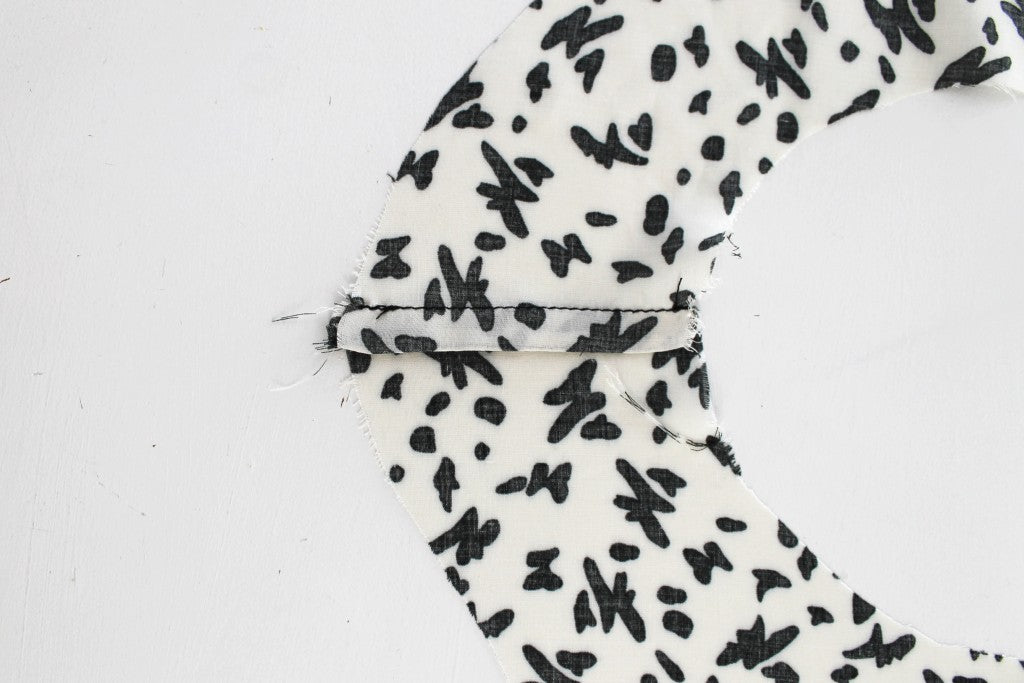
Sew this seam with a 1cm seam allowance. Press the seam to the front.
Take a moment to admire your beautiful new seams!
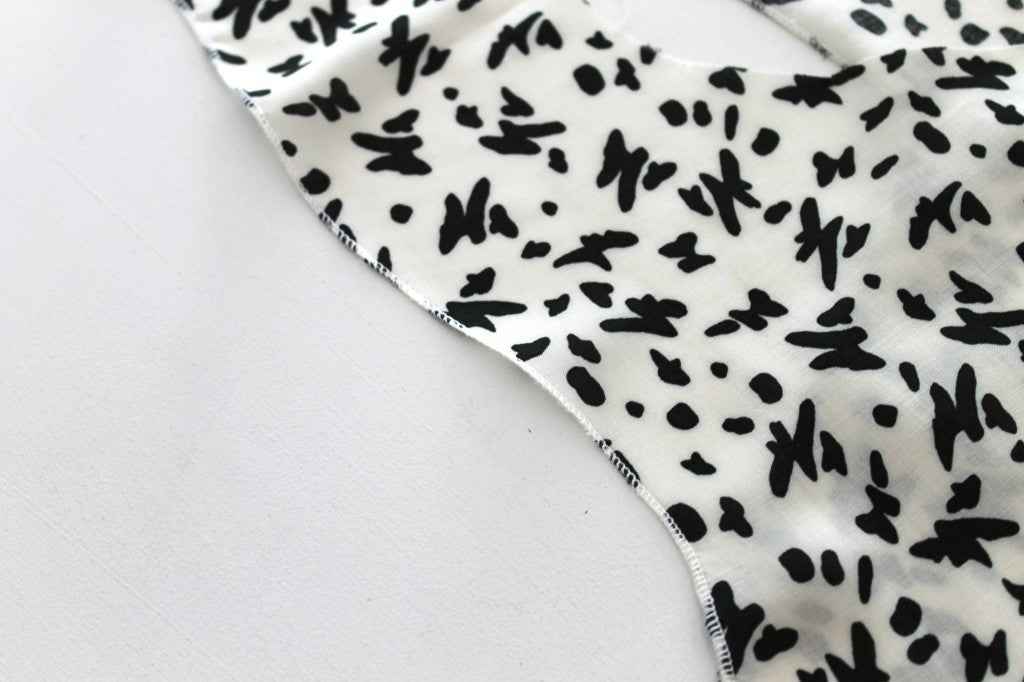
Now we have the facing pieces attached together at the side seams, we need to finish the long bottom edge of the facing.
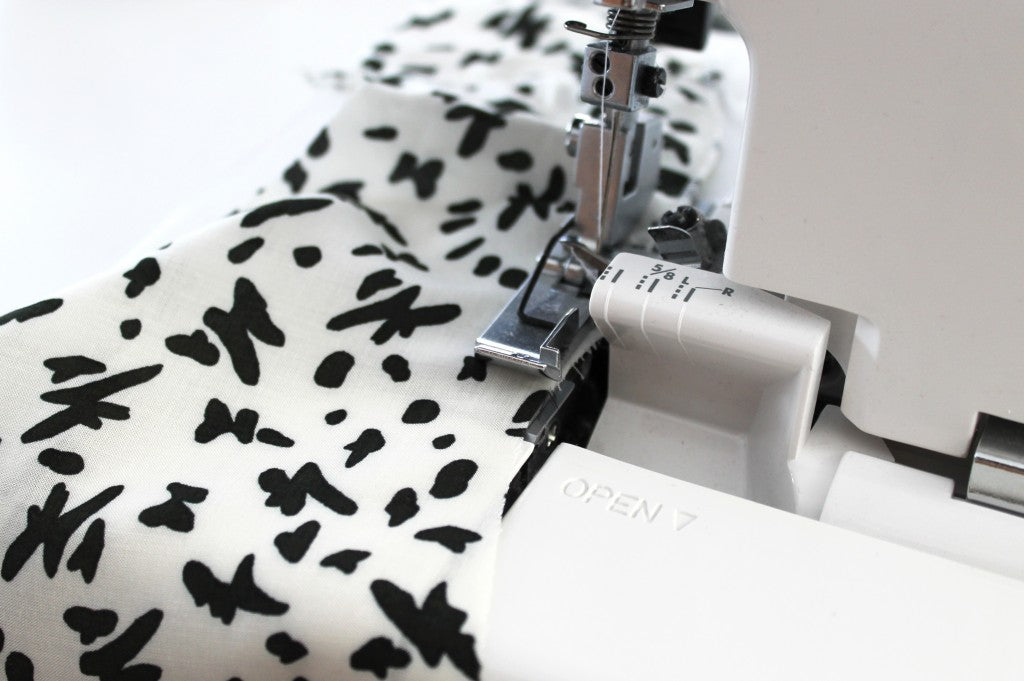
On a regular sewing machine you can do this using a zigzag stitch, or if you're using an overlocker like us, you can do a normal overlock stitch, or a small rolled hem.
Attaching the facing to the cami
What we're going to do next is attach the facing to the cami at the armholes. The shoulder seams on the cami and the facing should still be open at this point, which makes this stage nice and easy.
With right sides together, place the cami and the facing together at the armholes, making sure the edges of the shoulders match.
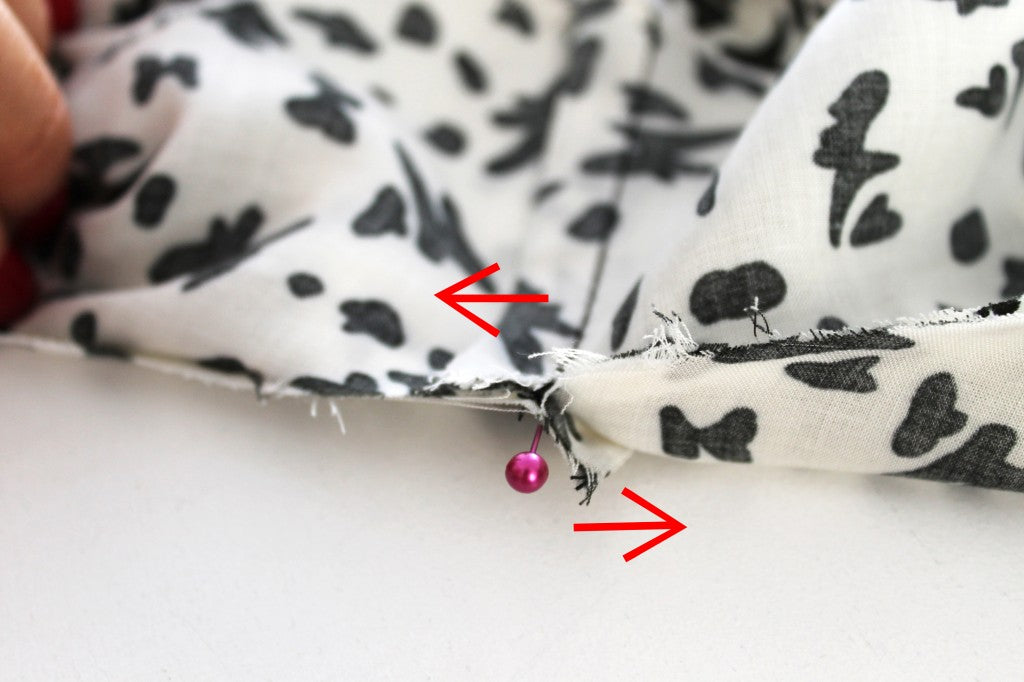
Line up the side seams, keeping the seam allowance of the cami pressed to the back, and the seam allowance of the facing pressed to the front. Having them pressed in opposite ways will help to reduce bulk.
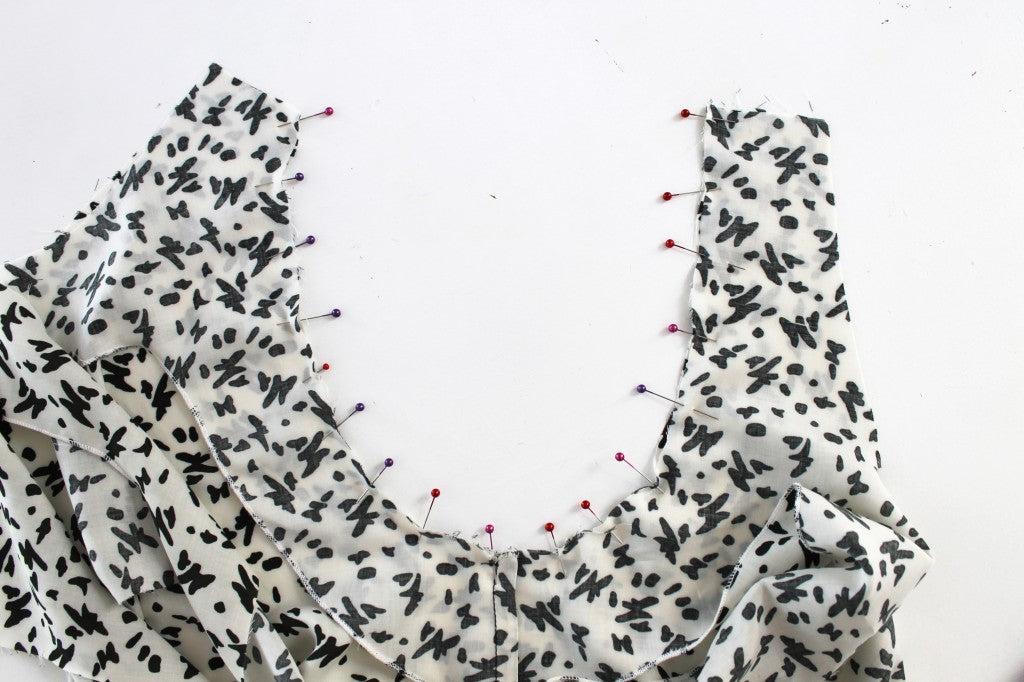
Pin all the way around the armholes - and don't be afraid to use a lot of pins here. To stop that fabric slip-sliding all over the place, you gotta do what you gotta do. Pins galore!
Sew this seam all the way around using a 1cm seam allowance.
Once you have done this around both armholes, let's stitch the neckline.
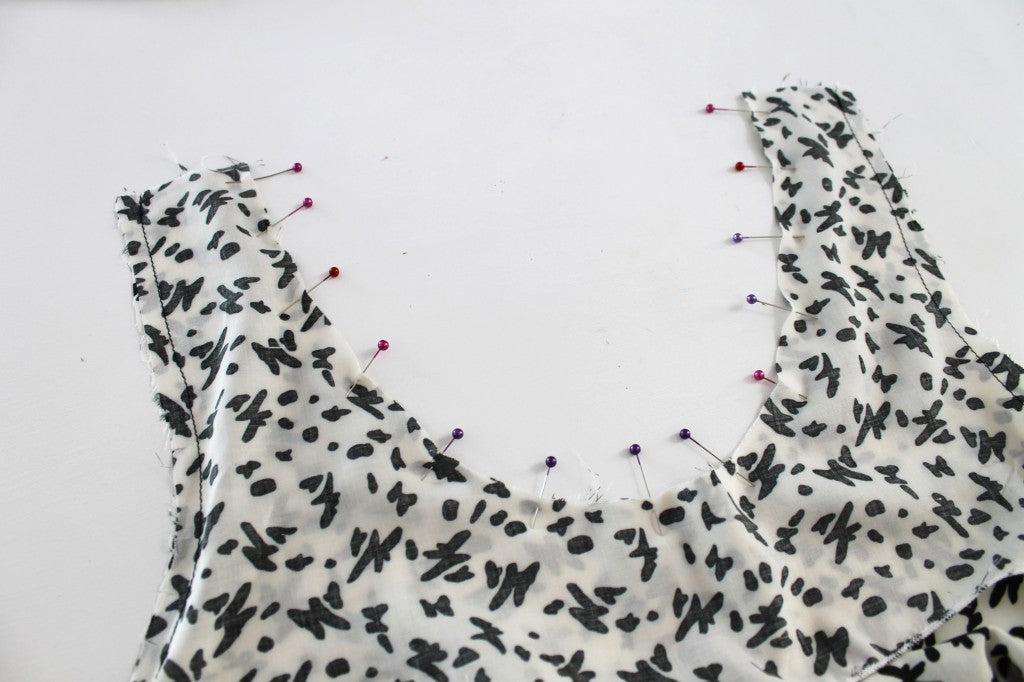
Starting at the front, pin the cami to the neckline all the way from the shoulder strap on one side to the shoulder strap on the other side.
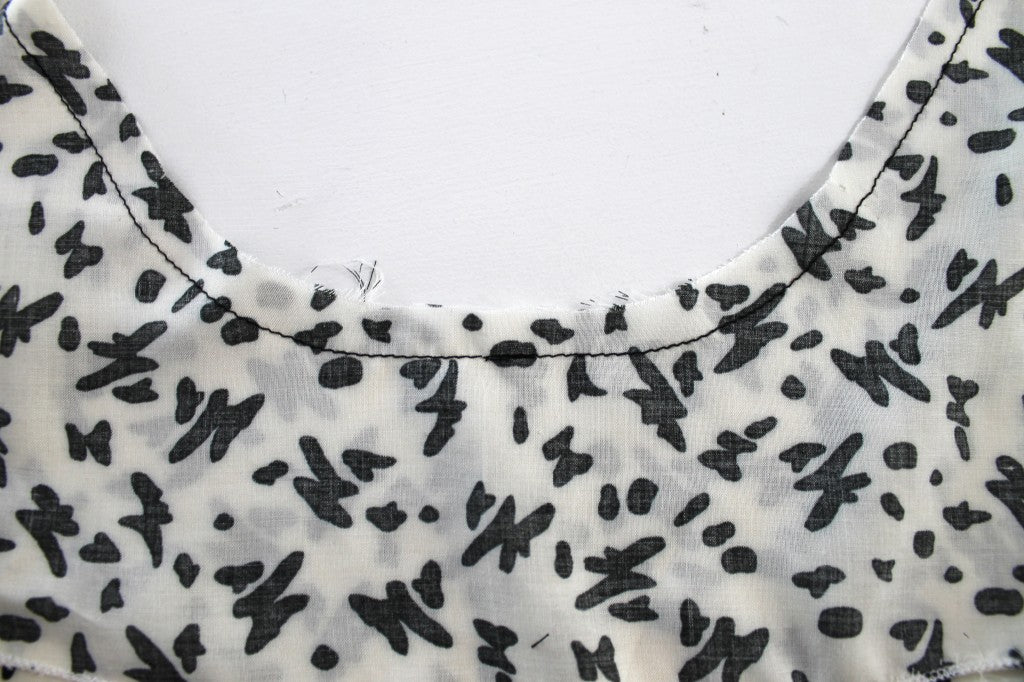
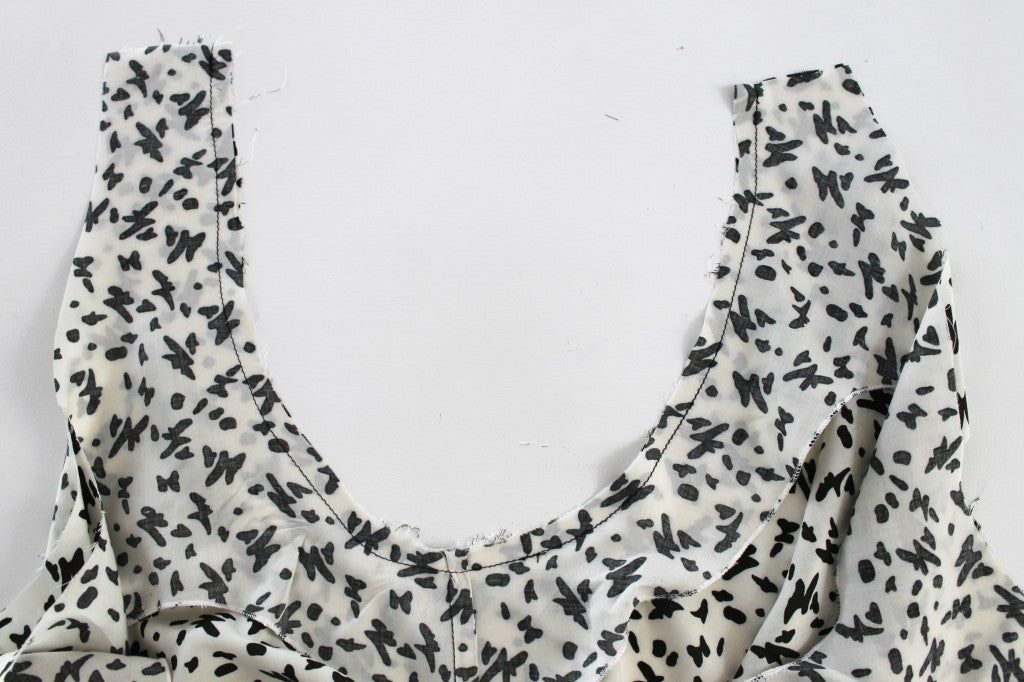
Sew this seam with a 1cm seam allowance.

Now let's do the same for the back neckline! Pin the facing to the cami along the back neckline edge.
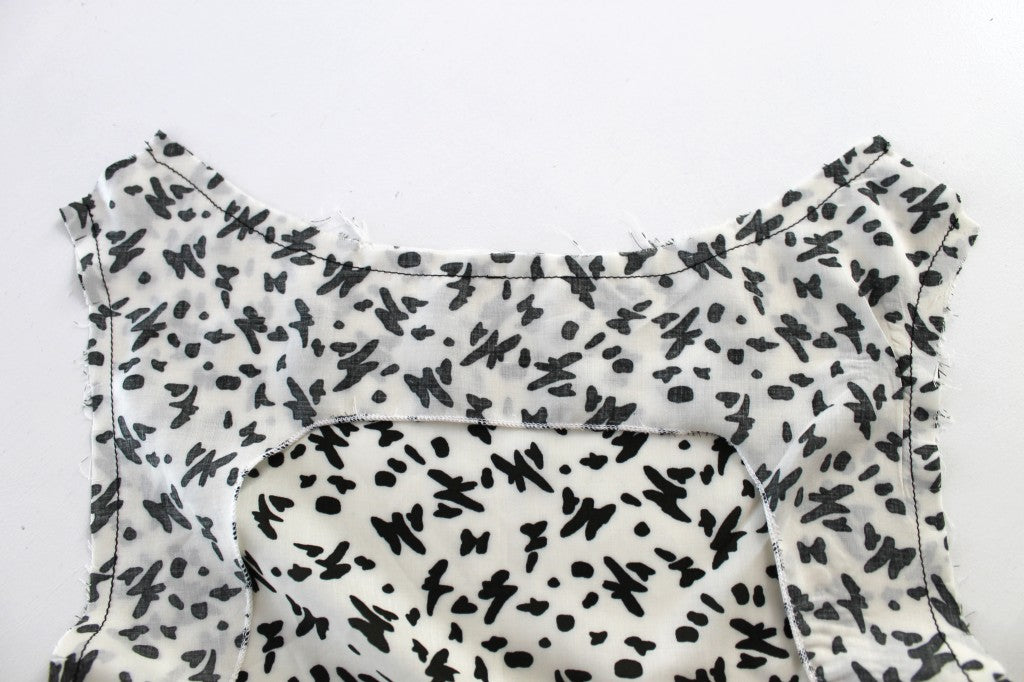
Sew with a 1cm seam allowance.
Now, to get these three seams that you have just sewn sitting all nice and flat, you need to clip the curves.
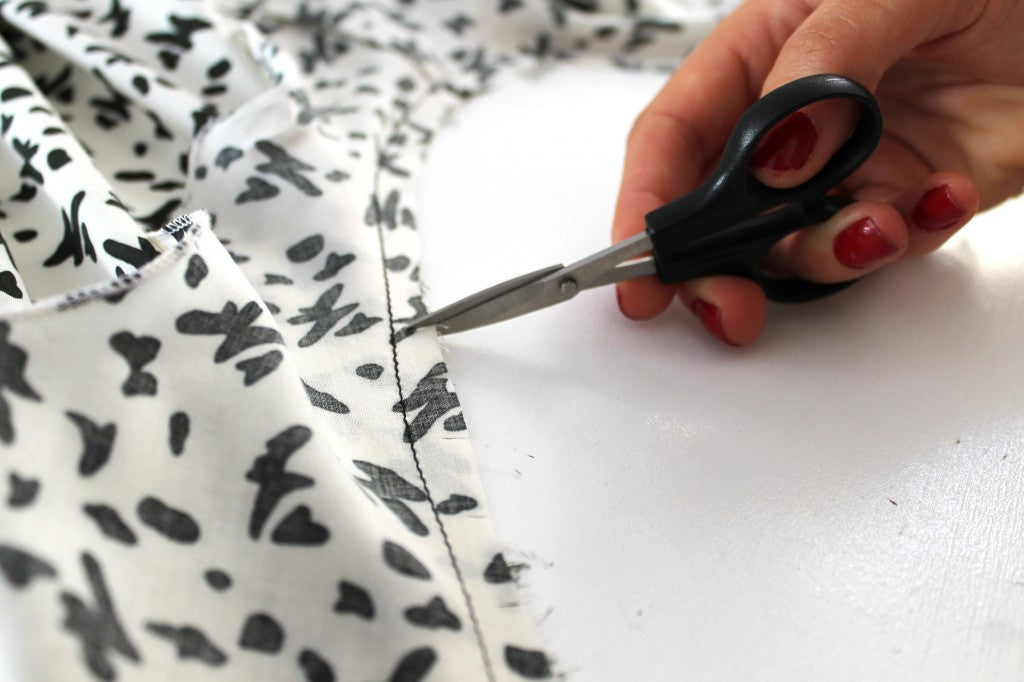
Using a small pair of scissors, snip as close to the stitch line as you dare, at 2cm intervals all the way around the curves.
If you would like to at this stage, for an extra crisp edge, understitch the facing to the seam allowance on the inside of the top. Doing this will anchor the facing onto the inside and stop it rolling out.
And then that's us done for another day. See you for the and last - instalment.