Using bias binding to finish an armhole is a popular finish for sleeveless tops, all the raw seams are all enclosed leaving a lovely neat result. If you are sewing the neck flounce variation of the Ultimate Shift Dress this tutorial will show you an alternate way to sew the armholes, which will leave your dress looking lovely and professional.

You're going to need:
- Ultimate Shift Dress pattern
- fabric
- bias binding
- pins
- thread
- scissors
- sewing machine
Sew your dress/top using the instructions booklet and our neck flounce tutorial on the blog.
We are using this satin bias binding but if you prefer you can use cotton/polycotton blend. If you're feeling ambitious you can even make your own bias binding, learn how to with our Stitch School Tutorial!
First press the side seams of the top open. We do this so you don't have a bulky underarm seam. Nobody wants that!
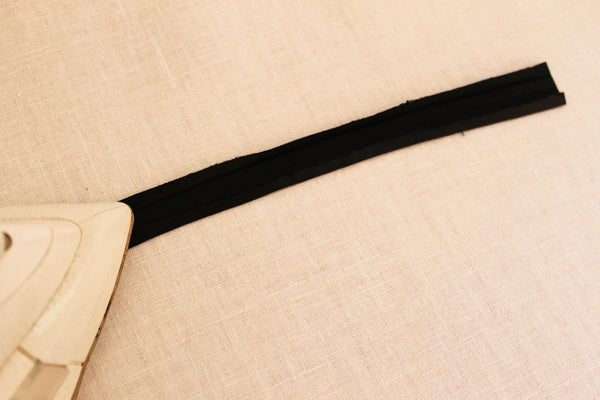
If you have pre-bought bias binding it is likely that it will be folded and pressed for you. If this is the case, press open one side of the folds so that it lies flat.
If you have made your binding strips yourself you don't need to worry about this step.
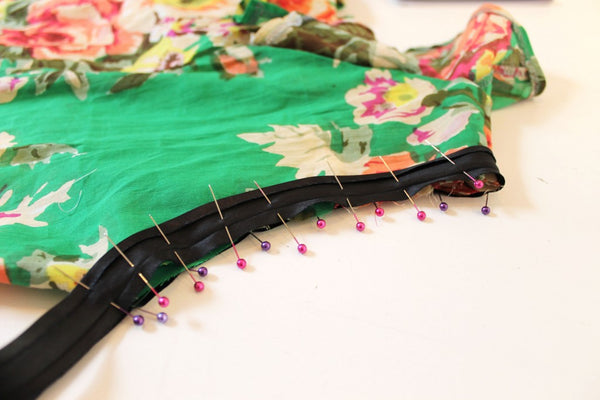
Line up this open side of the binding with the edge of the armhole, making doubly sure right sides are together, and pin all the way around.
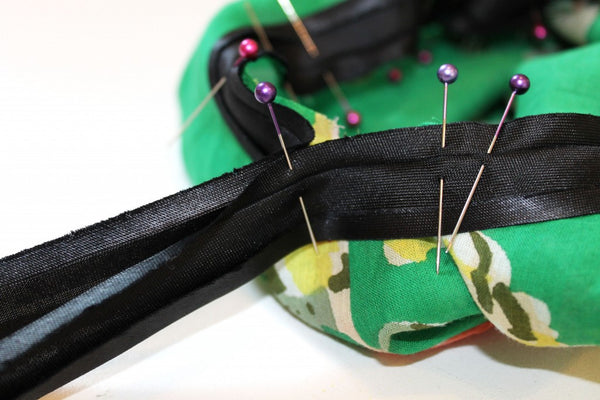
When you have pinned all the way round, place a pin where the two ribbon ends meet.

Open out the binding so that both folds are unfolded and sew these two ends together at the point at which you placed the pin. Remember to backstitch at both ends.
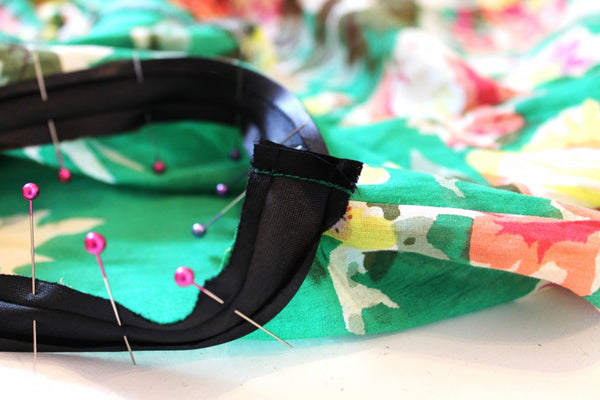
Trim the ends, before pressing the seam open.
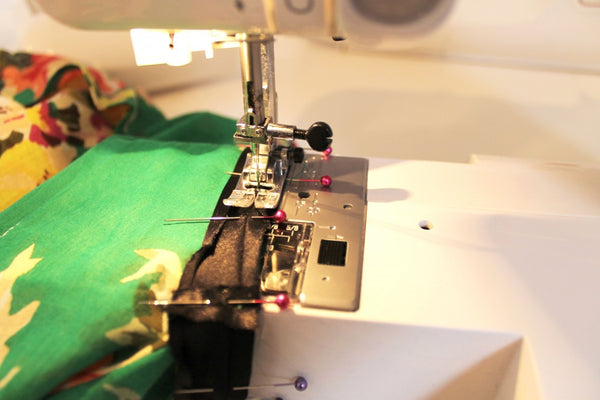
Now we're ready to sew the binding around the armhole.

With the needle in the outer crease of the binding, sew all the way round the armhole, remembering to backstitch at the beginning and end.
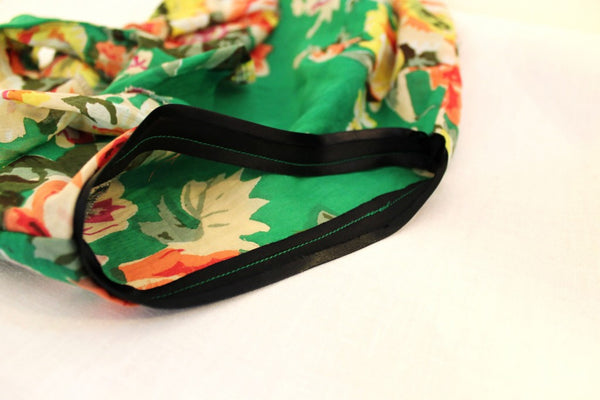
Turn the dress inside out and press the binding and the dress as if you were pressing seams open.
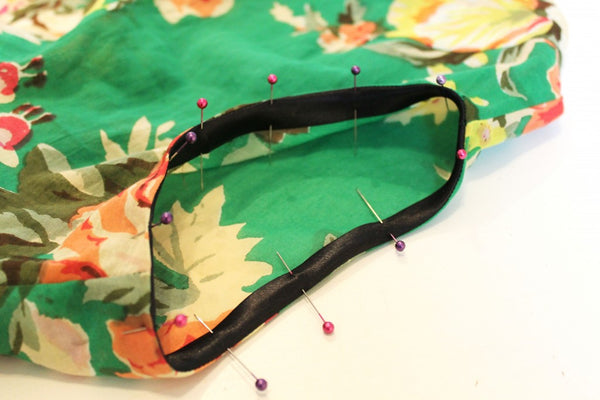
Turn the binding to the other side of the armhole. Press again and pin in it in place. There should be no raw edges visible as they will all be encased in the binding.
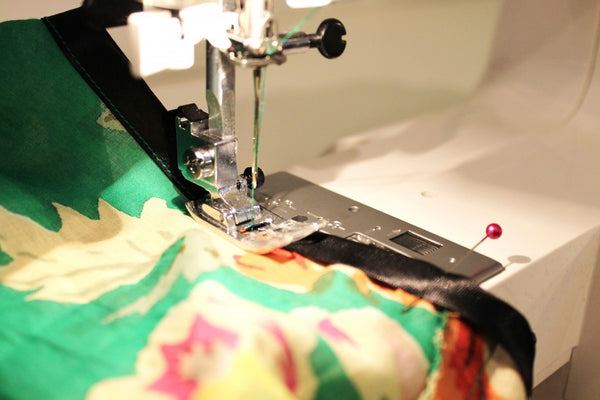
Starting somewhere inconspicuous such as the underarm seam, edgestitch the binding to the inside of the dress all the way around the armhole. Backstitch at the beginning and the end.
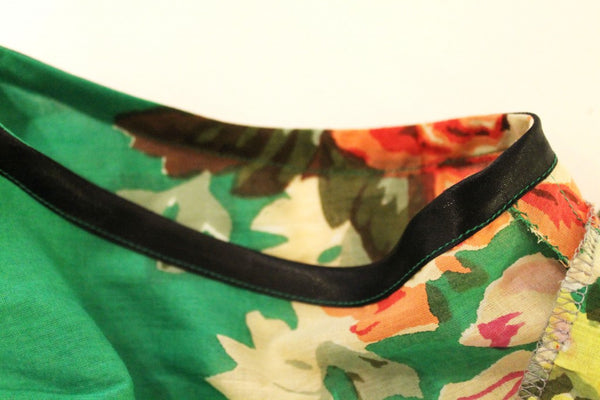
If at this point the armhole is looking at little stretched, give it a quick steam by hovering over it with the iron and blasting it with steam for a few seconds. The fabric will shrink back into shape like magic.
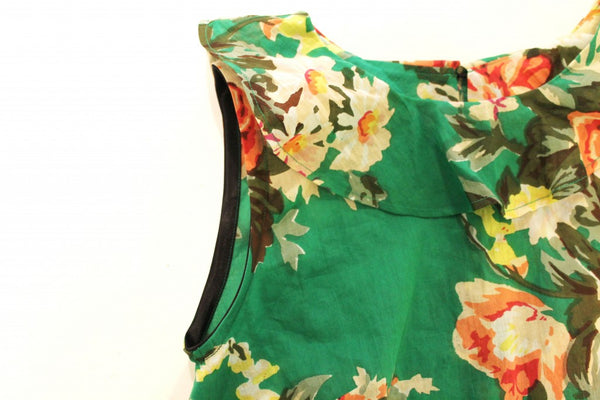
And voilà! One very professional looking bound armhole.
Are you a fan of this technique? We'd love nothing better than seeing pictures of your Ultimate Shift Dresses with their beautifully bound armholes. (Honest!!)