I personally am a huge fan of a high waist - I find they flatter my proportions and I always feel a bit more secure when I'm bending over!
I'm going to cover altering the pattern here on the blog, and then we're going to head over to the vlog where I'll show you how to sew the waistband on. So if you love a high waist as much as me and want to learn how to raise the waistline of your Ultimate Trousers, and finish them off with a waistband rather than using the facing, then read on!
Before you jump into this pattern hack, we recommend making a pair of Ultimate Trousers first using the existing waistline, as it is on the pattern. That way you will know if you have any fit issues - it's best to rectify these before you start work raising the waistband.
So let's go!
Try on your Ultimate Trousers you have made with the existing waistline. Tie a ribbon around your waist and measure from that ribbon to the top of the trousers. Record this measurement. We will now refer to this as the extension measurement.
Take your waist measurement at this point too - it will be handy for later on.
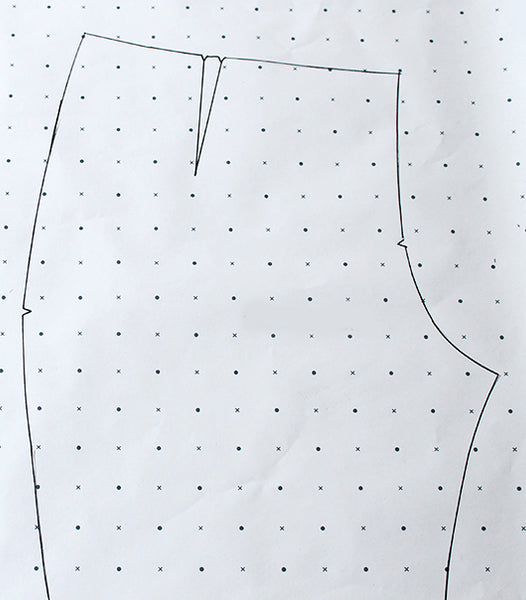
For this hack you'll need to trace off your existing pattern onto pattern paper, being careful to leave enough room at the top of the paper to extend the pattern.
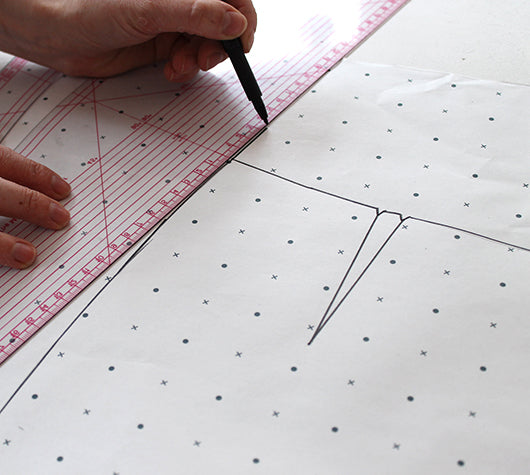
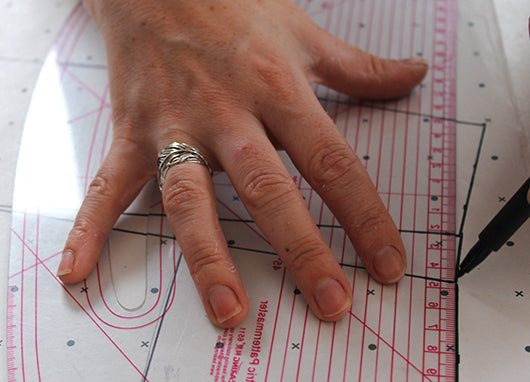
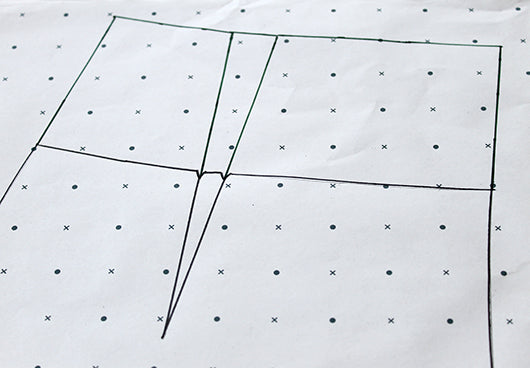
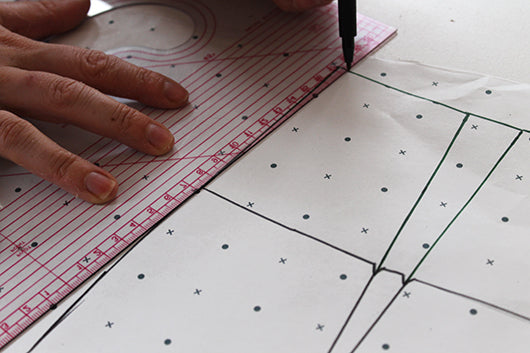
We are now going to use the extension measurement to lengthen the side seams of your trouser pattern. Continuing the seam line, extend the side seams by the required amount. Using a ruler will really help with this!
Extend the centre front seam by the same amount. As this is a straight line it's a bit easier!
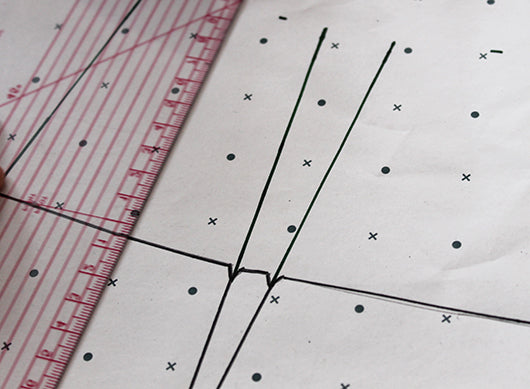
Once you have extended both seam lines, you'll now need to extend the darts by the same amount. As they get longer you'll find your darts also get wider.
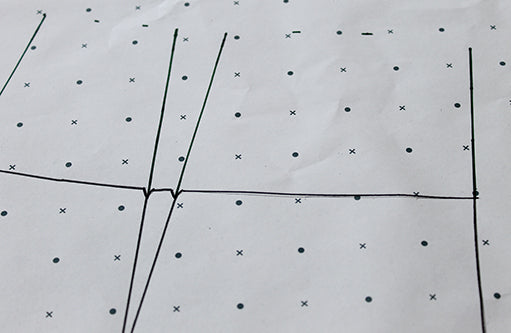
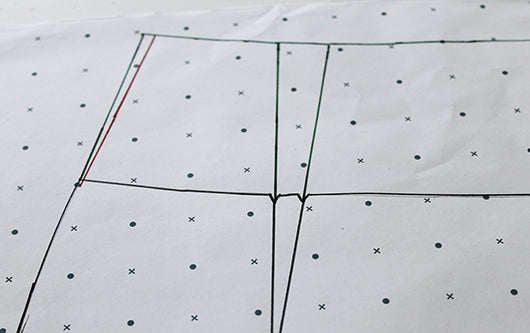
You now need to draw in your new waistline.
Measure up from the waistline in between the darts and seams at regular intervals and mark. Then use the ruler to join the marks in a smooth line.
Repeat these steps for the back trousers.
To check the waist is the correct size, take your waist measurement and divide it by 4. Measure the new waistline of the front trouser - subtracting the dart and the seam allowances. Compare this with your quartered waist measurement. Because of the way your body curves, they might be slightly different, in which case you might need to slightly alter the pattern.
My waist is slightly smaller so I needed to reduce my pattern a little. We removed the excess from the side seams, but depending on what suits your body shape best, you can take it from the darts or the side seams. The main thing is to make sure it is evenly distributed. Repeat with the back trouser - taking or adding the extra where you feel it best suits your shape.
Now you're ready to create waistband - don't worry, it's easy!
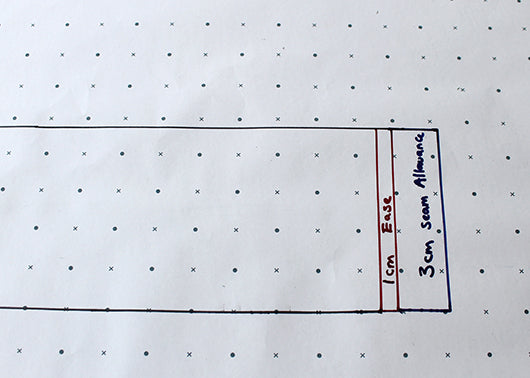
Decide how wide you'd like your waistband to be, then double that and add 3cm for seam allowance. I wanted mine to be 4.5cm wide, so the total width is 12cm. For the length, take your waist measurement, add 1cm for ease and 3cm for seam allowance. Use these measurements to create a rectangular-shaped pattern piece.
Voila! Now you're ready to move onto the sewing! Cut out your new front, back and waistband pattern pieces before using them to cut out your fabric pieces.
If you have attached a waistband before and are confident doing it yourself we say go for it - get stuck in!
If you'd like some more help, the rest of the tutorial is continued in video form on the vlog. So head over to our Youtube Channel to find out how to sew the waistband to the trousers and watch a full LIVE Sewalong for the Ultimate Trousers here.
