Last time we cut out our pattern pieces which means we've arrived at the fun part. It's sewing time! In this sewalong we're going to be tackling the darts in the front and back trouser pieces. We're then going to finish all the raw edges of the fabric to prevent it from fraying.
Firstly we need to mark the darts out on the fabric. We kept our pattern paper and fabric attached together last time, so this won't take us long at all.
A dart is a triangluar wedge that we pinch out of the fabric in order to give the finished garment shape. With trousers this is important as we need them to curve around our tummies at the front and our bottoms at the back. Because our bottoms are typically bigger than our tummies, the darts at the back will need to be larger than the ones at the front, as they need to accommodate more fullness.
So how do we mark out darts from the paper pattern?
Firstly, pop a pin in the tip of the dart, making sure you choose the correct tip based on the size of trousers you are making.
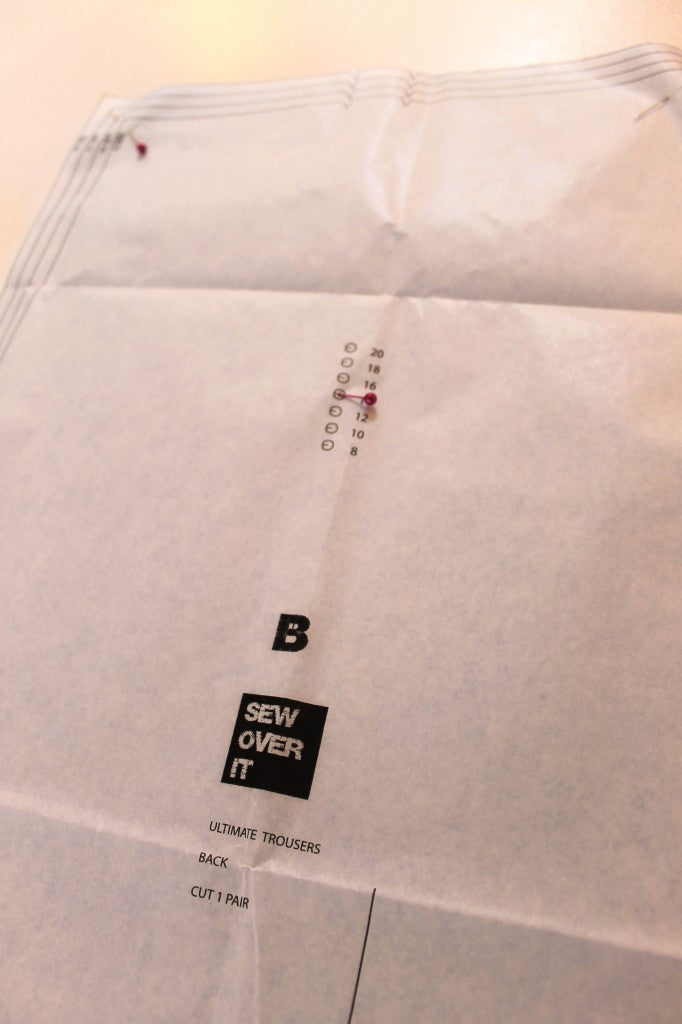
We are making a size 14.
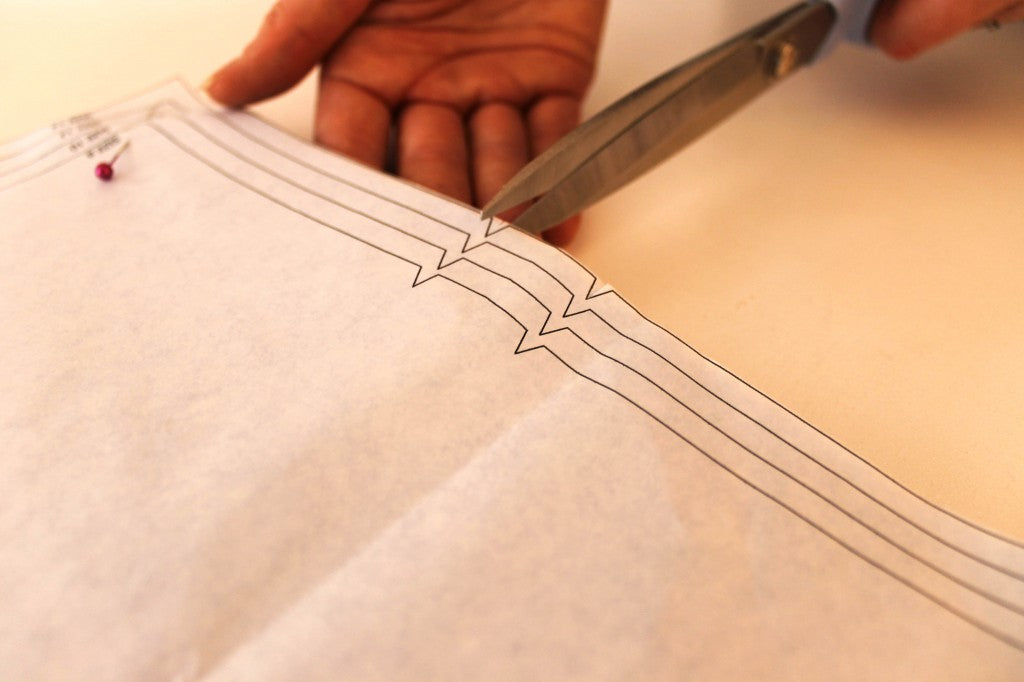
Secondly we need to snip the notches at the base of the dart, on the raw edge of the fabric.
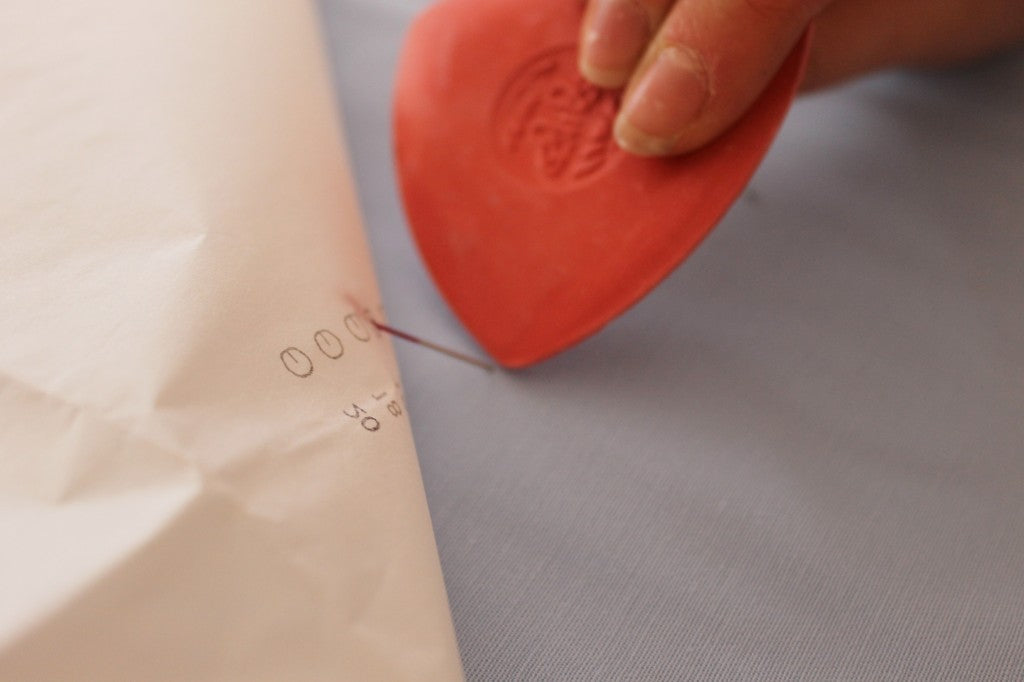
Now we are going to mark the fabric at the dart tip. Lift up the pattern paper gently, and at the point where the pin punctures the fabric, make a little mark with your chalk or washable pen.
Then turn the fabric over and mark the point at which the pin comes through on the underside piece.

Remove the pattern paper and join up the dart tip with the notches using your chalk.
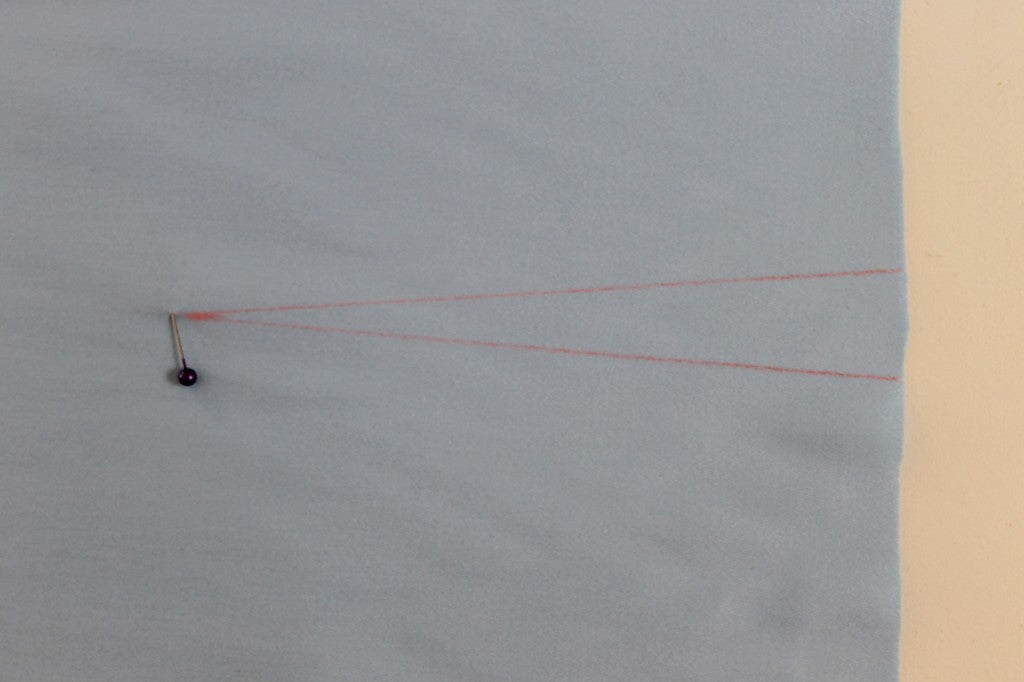
It should look something like this.
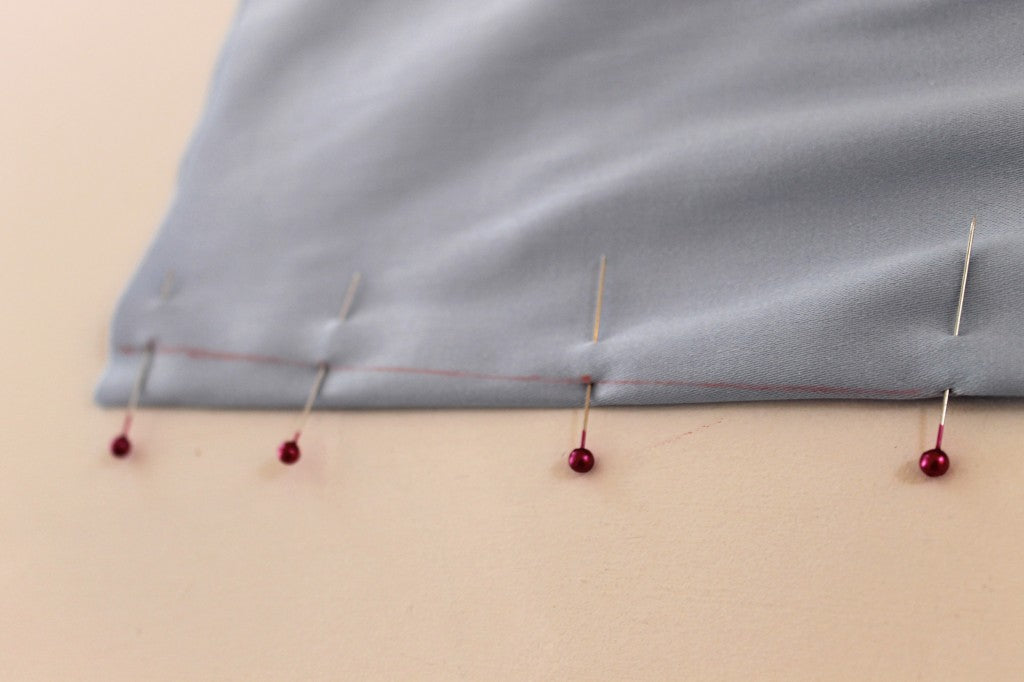
Fold the dart in half, lining up the notches at the top. Pin the dart in place.
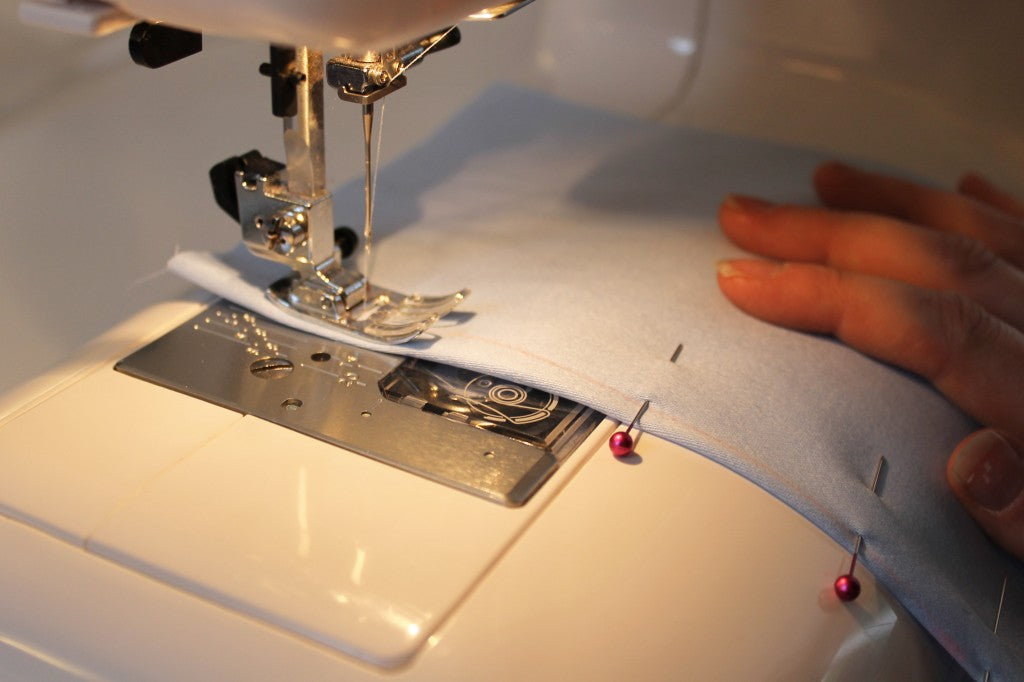
Starting at the base of the dart, stitch towards the dart tip. Backstitch at the beginning, but when you get to the tip, stitch straight off the end of the fabric without backstitching.
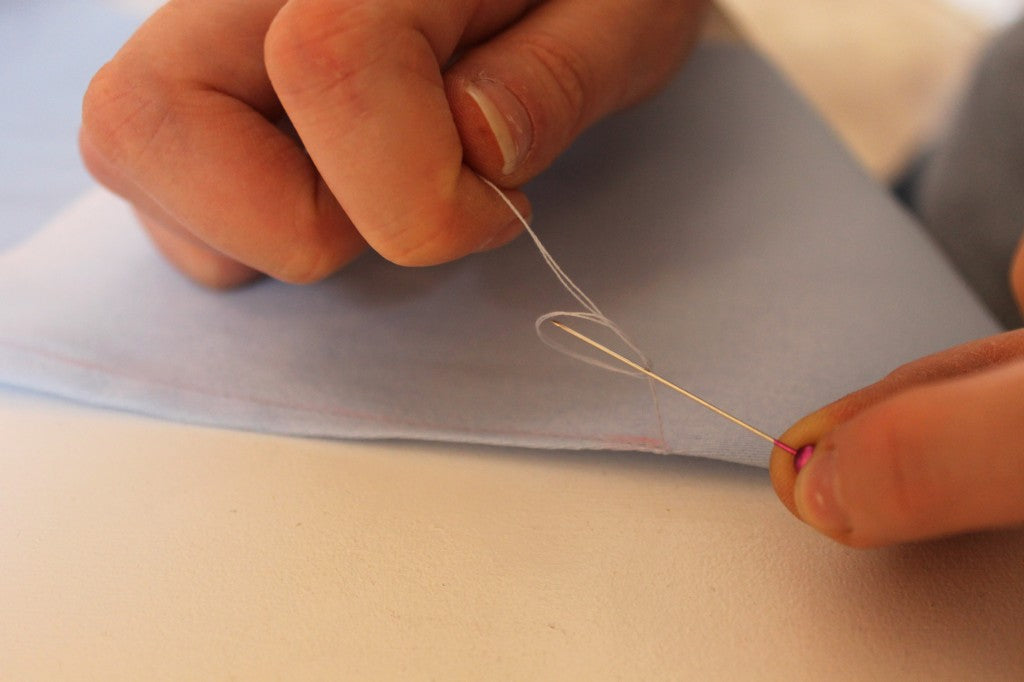
Instead of backstitching here, you want to leave the thread tails long, and then tie them together. Ease the knot down to the base of the dart with a pin.

We don't like to backstitch at the tip of the dart as it can leave a bit of a lump, which can be impossible to press out.
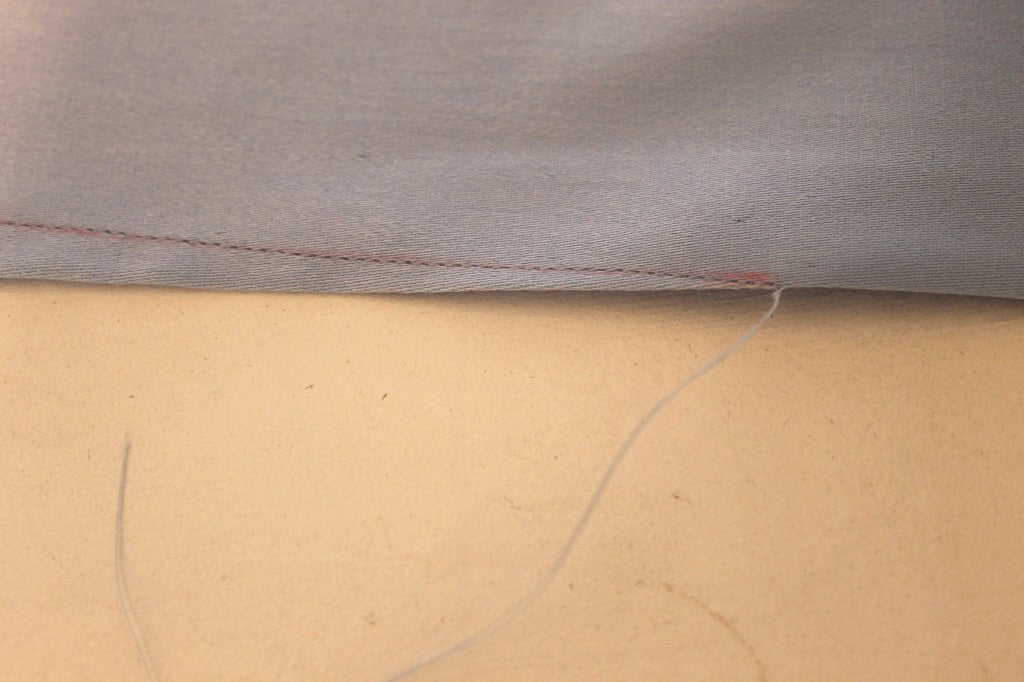
Repeat this step for all four of the darts.
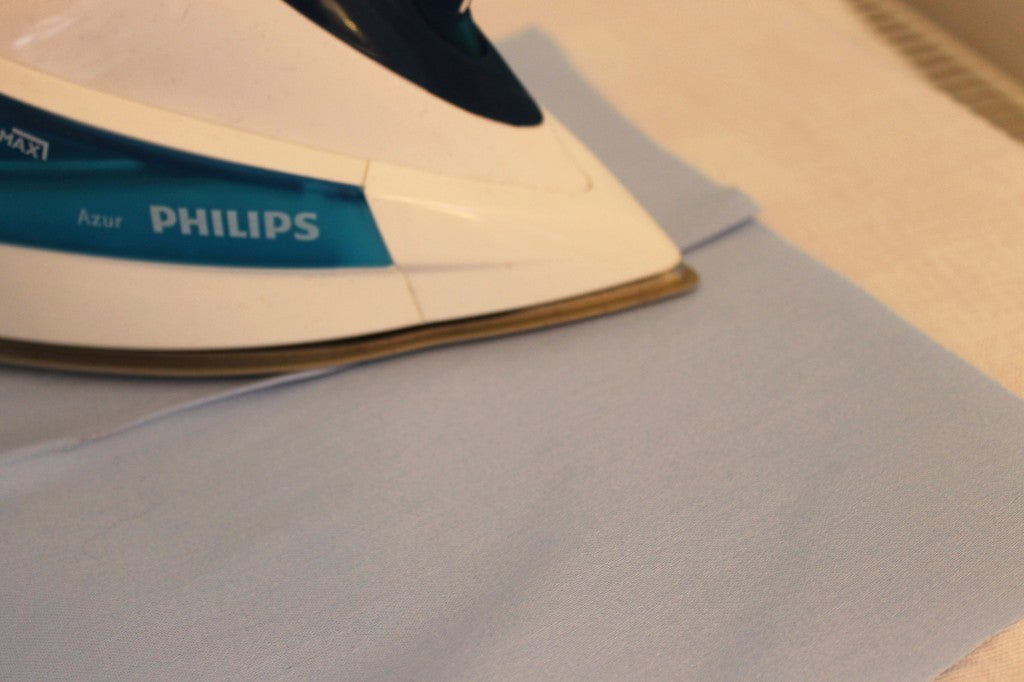
Once you have stitched all the darts, we need to press them in the correct direction. Darts in the front trouser pieces should be pressed towards the side seams, and darts in the back should be pressed towards the centre back.
Now we've got the darts done we're going to get ahead of ourselves for the next step, and finish the raw edges of the outside and inside legs and the crotch curve.
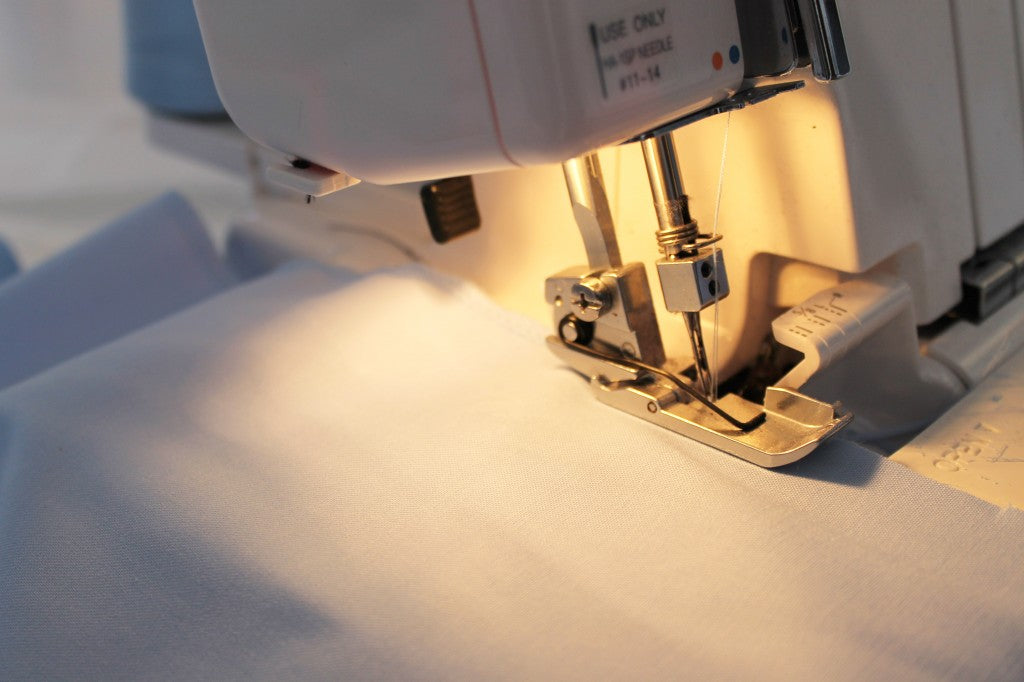
We are using an overlocker, but if you don't have one of these at home you can just as easily use a zigzag stitch on your sewing machine. For tips on the correct placement of a zigzag stitch when finishing raw edges, check out our little video.
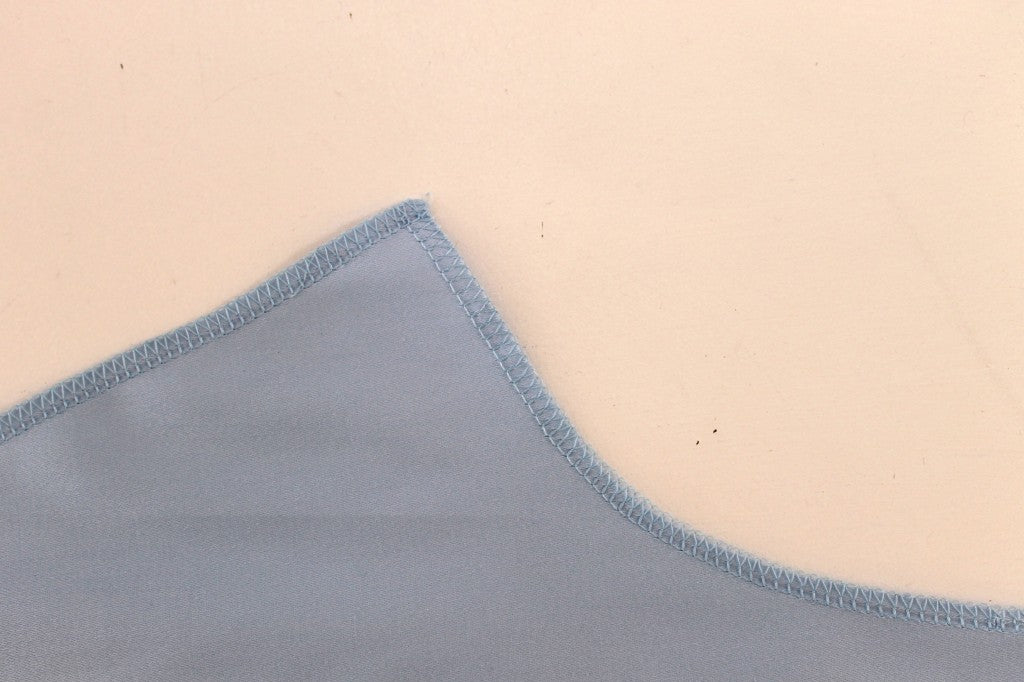
When finishing the crotch curve, pay attention not to stretch the fabric. As part of it is on the bias it is liable to stretch and warp a little bit. If this does happen you should be able to steam it back into shape by hovering over it with the iron and blasting it for a few seconds, but this may not work with all fabrics, so it's best to handle with care. Warped crotch is not the best look!
Remember, we are not attaching any pieces together at this point. We're just finishing all the edges separately in preparation for the next stage.