This sewalong is all about getting your gorgeous V-neck just right.
So far you should have your side seams and shoulder seams sewn and finished, and your centre front edge nicely zigzagged or overlocked. Check? Well you're ready to move on then...
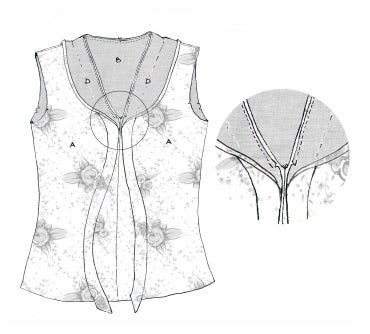
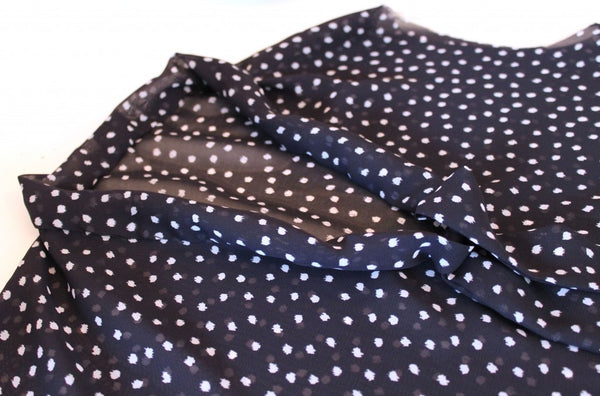
First thing we're going to do on Version 2 is sew up the centre front of the blouse.
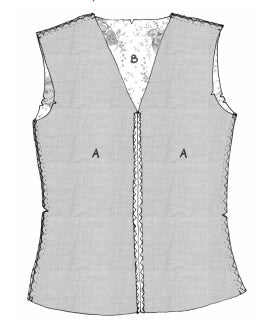
Place the two blouse fronts right sides together and pin from the circle at the bottom of the V to the hem, and pin. Essentially you are pinning the finished edges together. Sew this seam with a 1.5cm seam allowance.
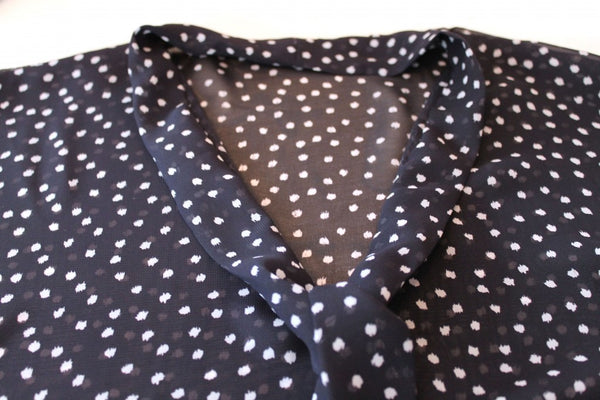
Press this seam open.
Now we can start on the tie!
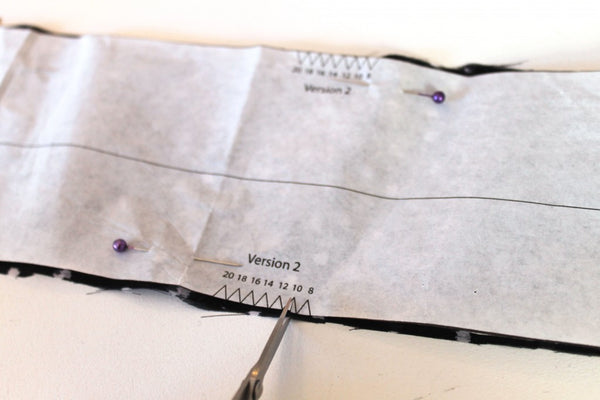
Before you do anything, make sure you have snipped the notches on the pattern.
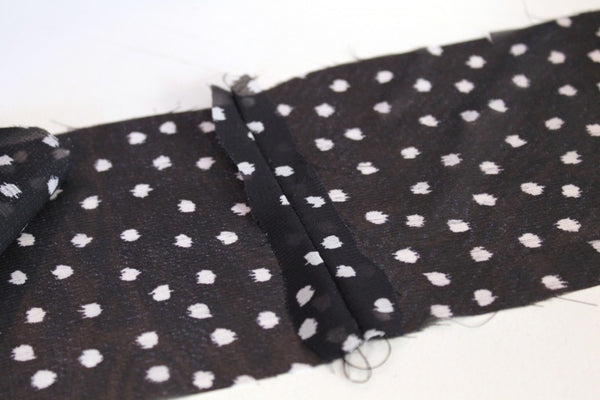
Now, take the tie pieces and place the centre back edges right sides together and pin. Sew the seam using a 1cm seam allowance, before pressing open. We recommend you don't finish this little edge because it will add unnecessary bulk.
Open the tie out and with right sides together, refold it, this time lengthways. Pin around the open edges from the Version 2 notches, which are marked on the pattern. From the centre of the tie, they are the third set of notches outwards.
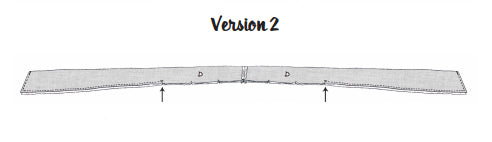
Pin either side of these notches, leaving an open section in the middle.
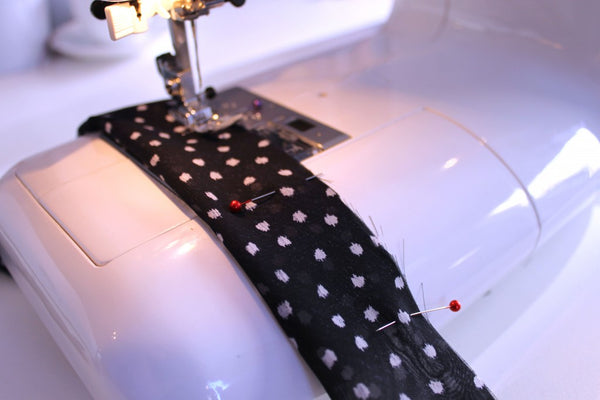
Using a 1cm seam allowance, starting one notch, sew down the length of the tie, pivoting at the corner, and continuing to the end. Repeat this on the other side of the tie.
To reduce bulk, trim your seam allowance around where you have sewn down to 5mm. Do not trim the parts where you haven't sewn.
Clipping the corners will help you when it comes to turning your points out.
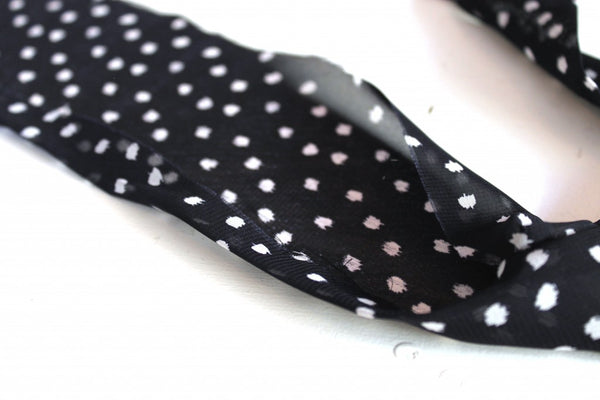
At the open section of the tie, fold back the 1cm seam allowance on the top side, and press.
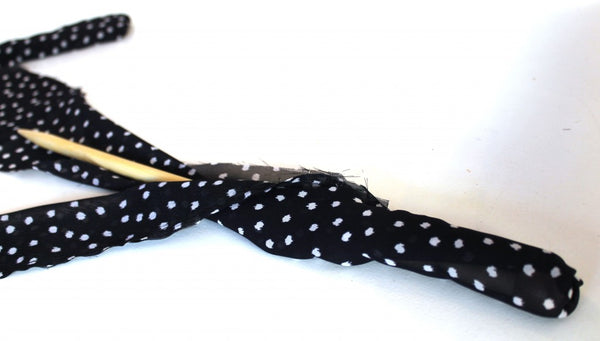
Turn the tie the right way out. This is a little tricky! It might help to use a knitting needle to gently push the corners out. Then use a pin to tease them out even further, getting as sharp a point as you can.
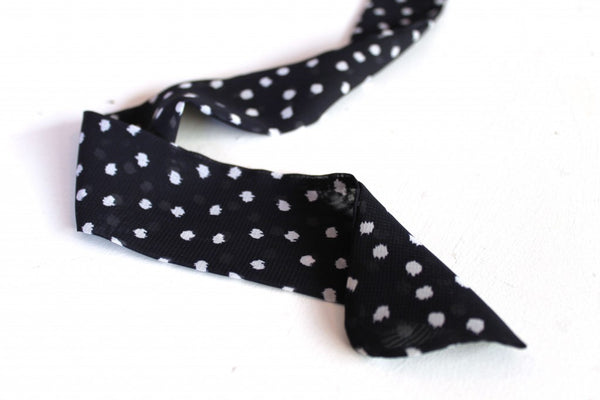
Press each end of the tie flat, up to the open section, making sure the seam is exactly on the edge all the way around.
Now we are going to attach the tie to the blouse. The open section of the tie should be exactly the same length as the neckline, from the centre front to centre front.
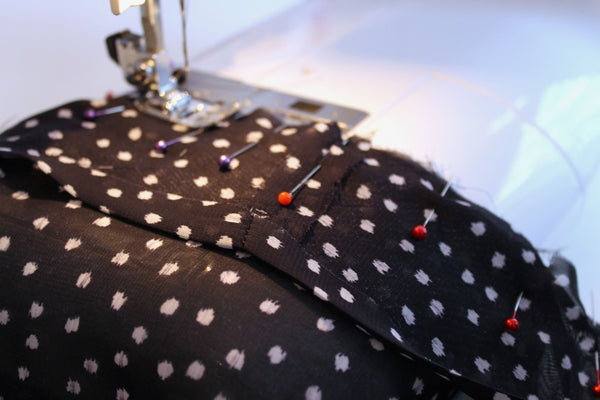
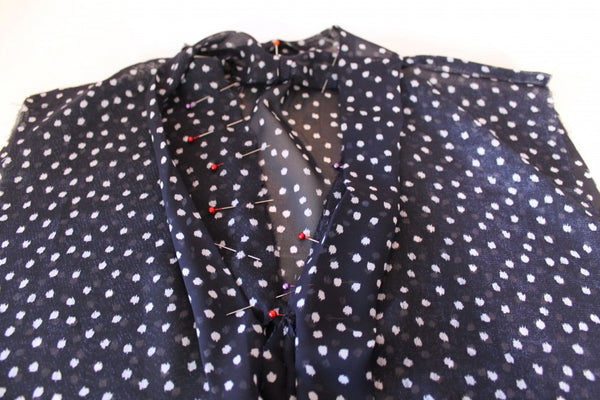
Place the unpressed raw edge of the tie together with the neckline edge of the blouse. Match the centre back seam on the tie with the centre back notch on the blouse. Pin the tie in place all the way around. As the blouse is not flat this can be a little tricky, but go slowly and you will get there. We recommend using a lot of pins at this stage, so as to keep everything firmly where it should be.
Once you have got your tie pinned in place you can start to sew it to the blouse. Starting at the bottom of the V at the centre front, stitch the two pieces together using a 1cm seam allowance. Sew all around the length of the neckline until you end up back where you started at the bottom of the V.
Press the seam allowance in towards the tie. We are going to hide these raw edges away forever!
Now, fold the open section of the tie in half with wrong sides together. The seam allowance you pressed over earlier should now sit on top of the line of stitching you have just sewn.
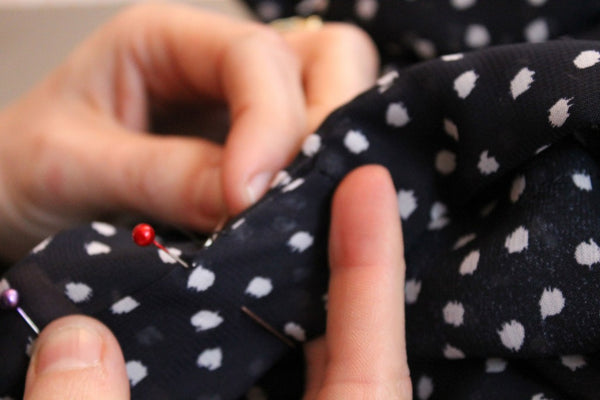
Pin in place all the way around the neckline, before sewing up the gap with a slipstitch (follow our Stitch School Tutorial here). This creates a kind of binding for the raw edges, meaning you get a clean and tidy finish inside and out.
And that's it for today!
Next we will be popping the sleeves in! Don't you just love it when it all starts coming together?
Before then, if you need some help with anything we have gone through in the sewalong so far, let us know and we'll be happy to help. Comment below, or hunt us down on Facebook, Twitter or Instagram.