Hello sewalongers! Today we're back with the penultimate instalment of the 1940's Wrap Dress sewalong. In this post we're going to guide you through attaching the skirt and the bodice together with the waistband. By the end of it you'll have something that well and truly feels like a dress!
Let's get started!
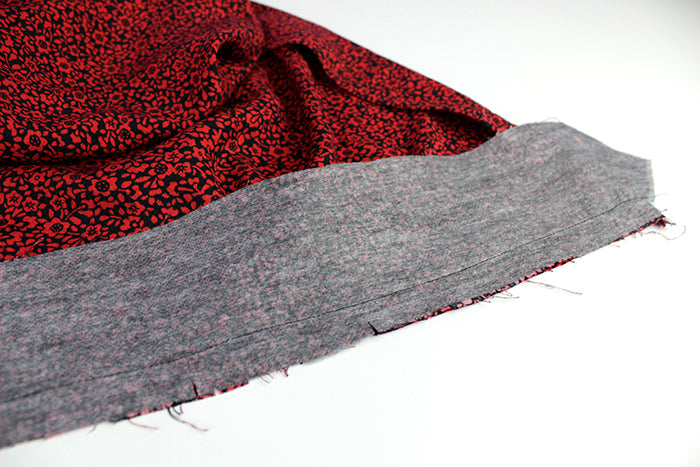
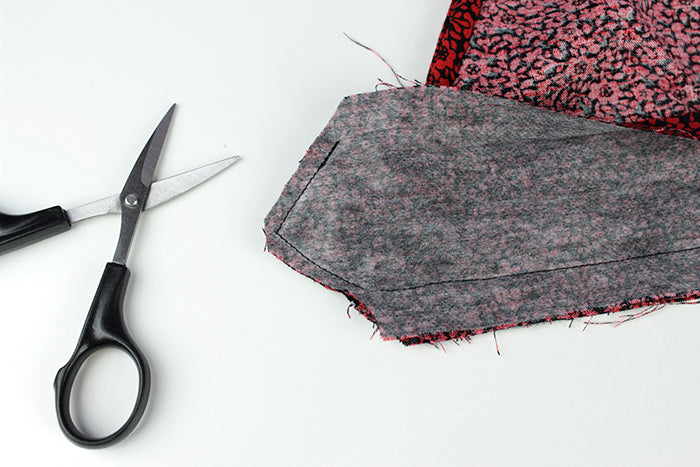
First, make sure you've interfaced your waistband pieces. Because it's likely you'll be working with quite a lightweight fabric, make sure to interface both pieces as you'll need that extra stability.
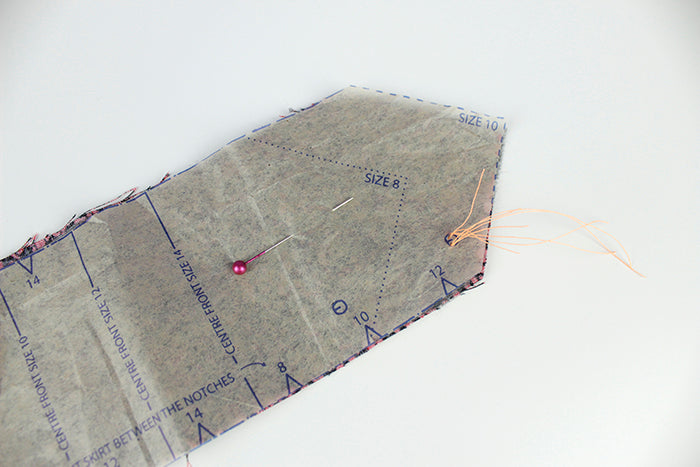
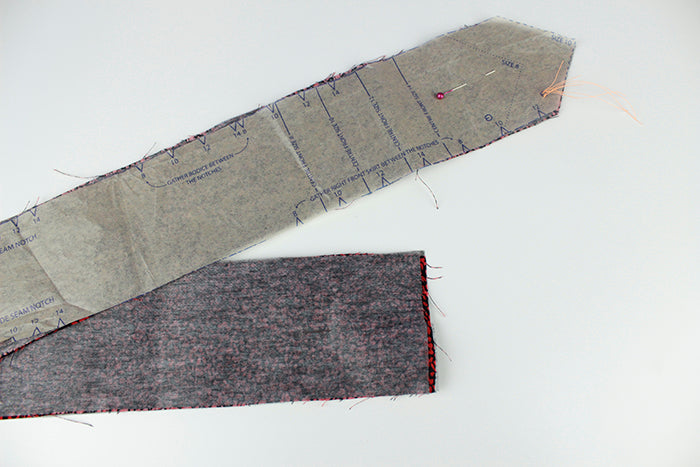
Once interfaced, pin the pattern back onto the waistband pieces and mark in all the corresponding notches for your size. We recommend marking the circle with a tailor's tack. Pay close attention, making sure you're marking the correct circle. We're making a size 10, and above you can see the corresponding size 10 circle marked with a tailor's tack. It's worth taking a little bit of time to get this right as you'll need this marking for accurate sewing later on.
Unpin the pattern and separate the pieces, cutting through the tailor's tack carefully.
We're now going to attach the waistband to the bodice.
Take the upper waistband piece (the piece that points to the right when right sides are facing up), and place it right sides together with the bodice along the waist seam. You'll find it easiest to do this part with the waistband on the bottom and bodice on the top.
The waistband should extend at either side of the bodice, rather than sitting flush with the edge, to allow for a nice finish later on.
Match the notches on the waistband with the pleats and side seams on the bodice. You'll notice you'll have extra fabric on the bodice, which we'll shortly gather up to fit.
If you're finding that the waistline of your bodice has stretched out a little bit, you can ease it onto the waistband between the notches. Otherwise, if it's stretched quite a bit, you can simply add some of the extra fullness into the gathered area.
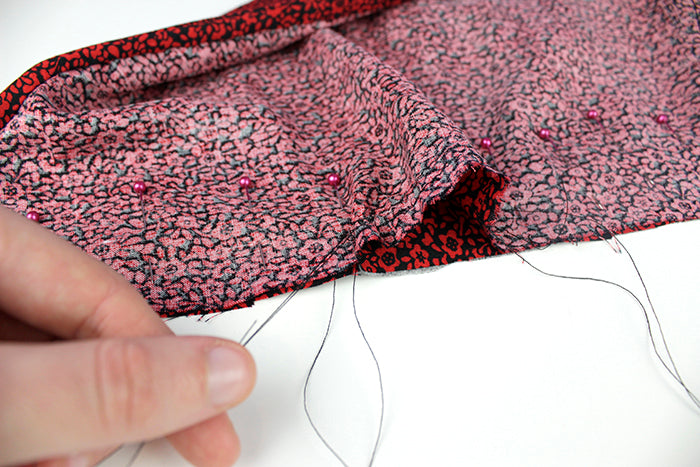
Pull on the thread tails of your gathering stitches to ruche up the bodice fabric.
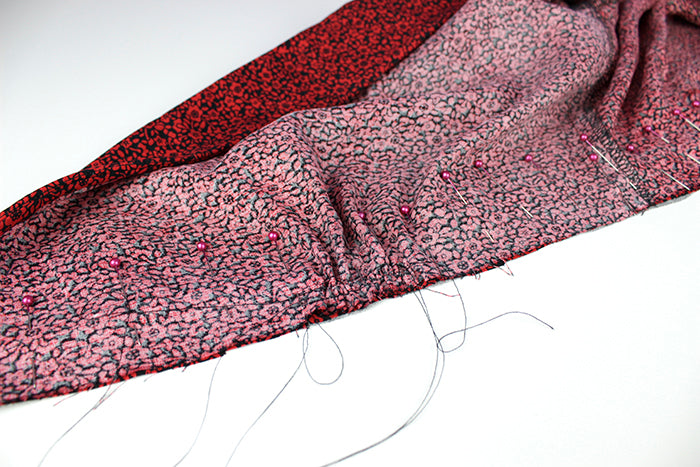
Keep pulling until the bodice is fully gathered onto the waistband, before carefully distributing the gathers evenly. Once you're happy, pin the gathers in place.
Once all secured with pins, tack the waistband and bodice in place along the waist by machine with a 1cm seam allowance. To help make sure the gathers stay nice and even we recommend you sew this step with the bodice on top and waistband underneath.

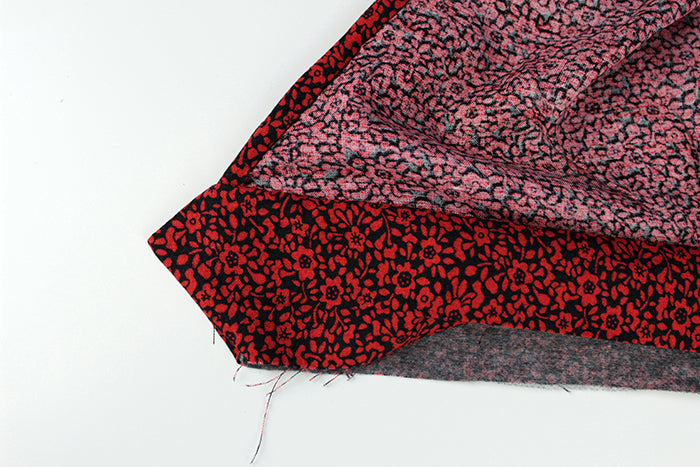
Now take the lower waistband piece and with the pointed end pointing towards the right, fold up the bottom edge by 1.5cm, wrong sides together. Give it a good press to create a crisp fold.
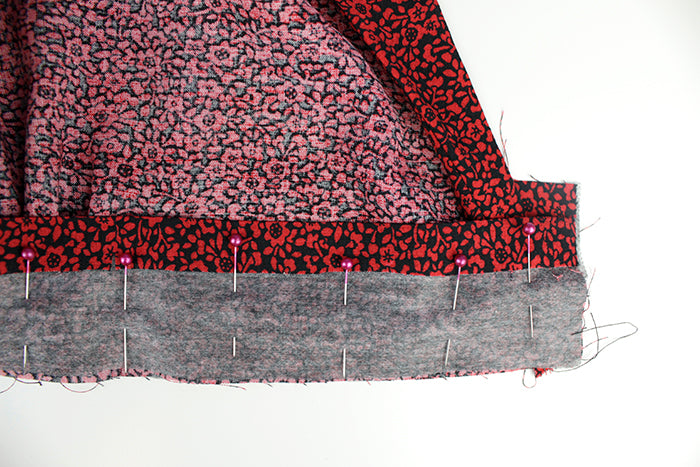
Sandwiching the bodice in between the two waistband pieces, align the lower waistband piece and bodice, with the right side of the waistband facing the wrong side of the bodice. Match the notches and the pointed waistband ends, before pinning in place.
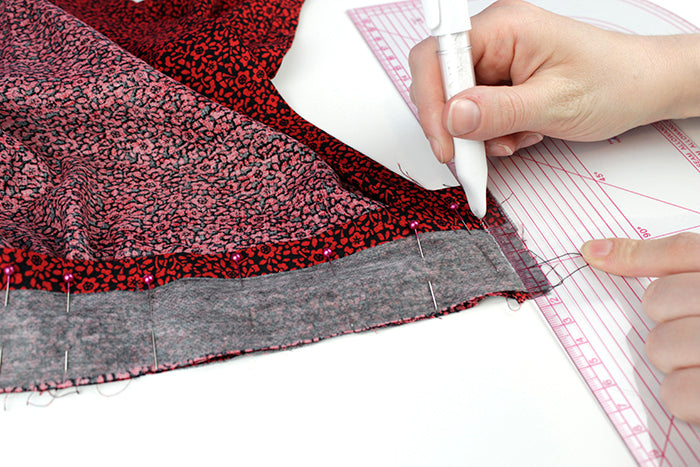
Before we stitch the waistband in place, we're going to draw in a couple of stitching lines with chalk. This part of the construction requires extra accuracy, so drawing in a stitching line gives you something to follow, and helps to achieve a nice neat finish.
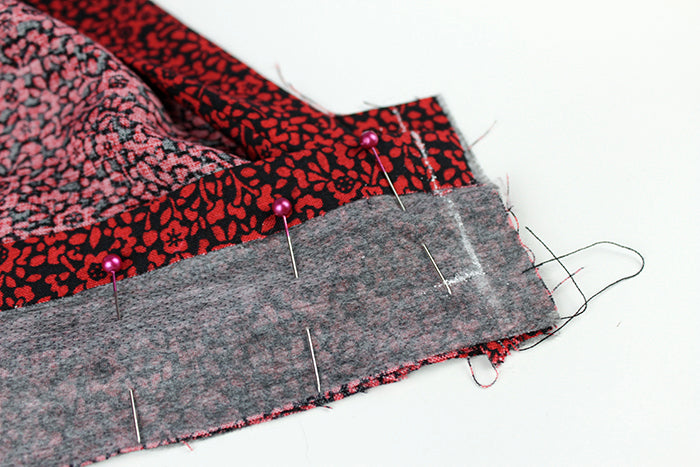
At the flat, non-pointed short edge of the waistband, draw in a 1cm seam allowance with chalk or a fabric marker. (Note that the fold in the lower waistband will be stitched down, so it must remain pressed at this edge.) Draw in the corner, bearing in mind that the seam allowance along the waistline has grown to 1.5cm. The corner marks the point at which you'll need to stop stitching and pivot in a couple of steps' time.

At the pointed edge, draw in a standard 1.5cm seam allowance, this time unfolding the pressed seam allowance of the lower waistband. This is because we are going to start stitching from the tailor's tack (marked on the pattern with a circle), and in order to be able to turn out the waistband point later on, the seam allowance must not be stitched down.

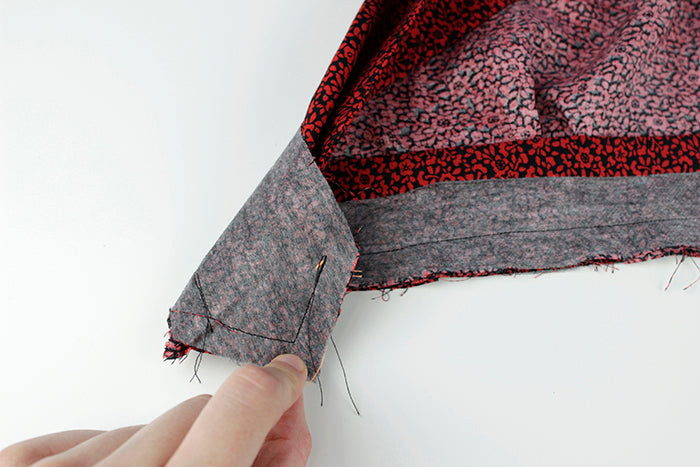
Starting at the tailor tack, stitch to the waistband point apex following the chalk line. Then stop, put your needle down, lift the presser foot and pivot the fabric, before continuing to sew the second half of the point. Pivot again, and then sew all the way along the waist seam with a 1.5cm seam allowance. At the flat non-pointed end, make sure to stitch over the pressed lower waistband seam allowance, anchoring it in place. Do not stitch further than the fold. Make sure to backstitch at the beginning and end of your line of stitching.
To reduce bulk at the pointed edge, trim the seam allowance down to 5mm.
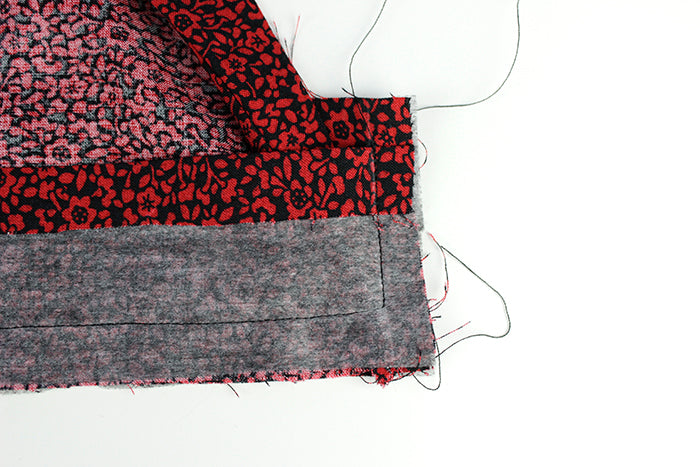
Once trimmed, turn the waistband through to the right side. Gently press out the pointed end until you have a nice sharp corner. We like to use a large knitting needle to push the corner out initially, before teasing the last little bit with a pin from the right side.
Turn out the flat edge of the waistband.

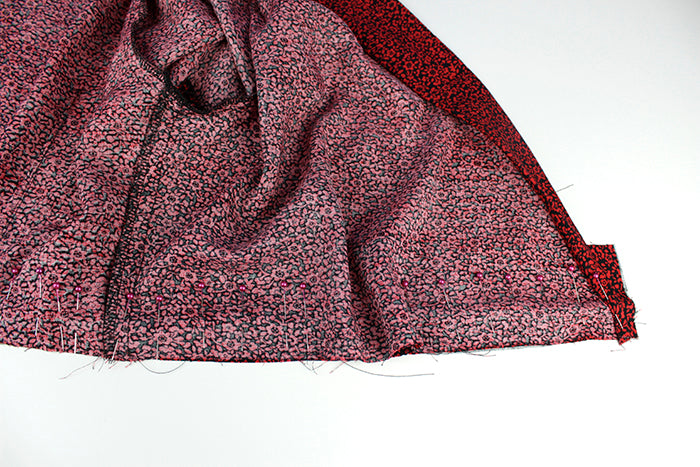
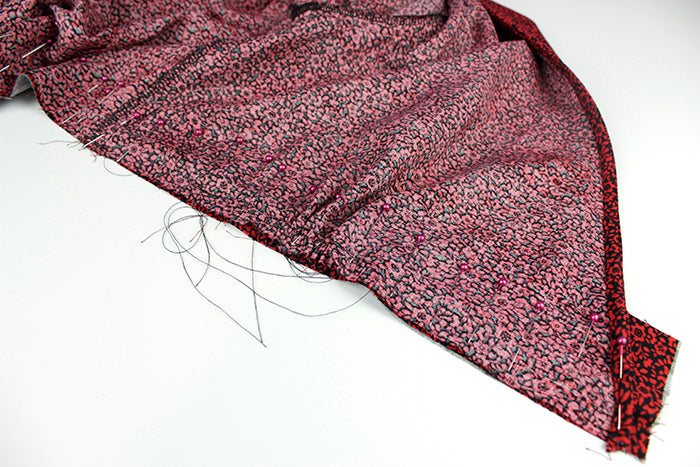
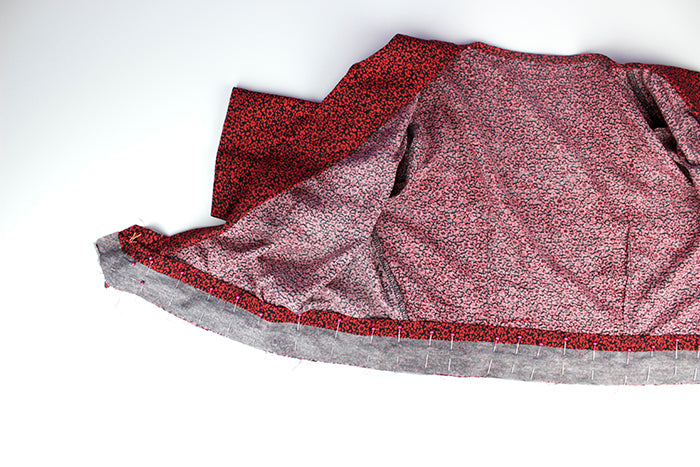
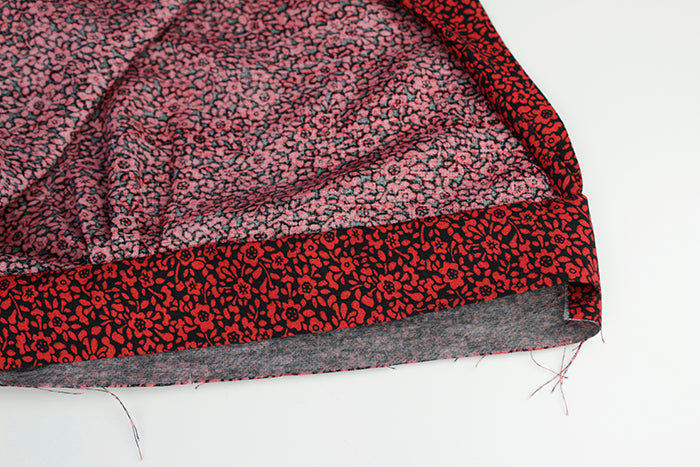
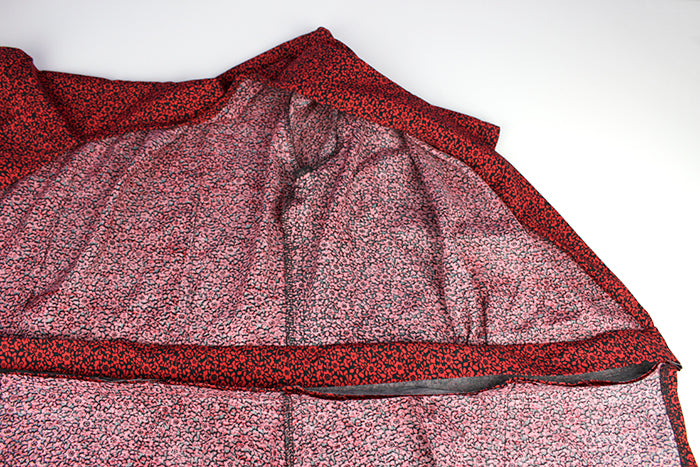
Now we're going to attach the skirt to the outer waistband. With right sides together, align the outer waistband and the skirt at the waist, matching the notches. You'll have to open out the waistband slightly so that you don't catch the lower waistband piece.
You'll remember from the last post that the skirt is asymmetrically designed; the gathered right hand side (with the facing) wraps over the darted left hand side when worn. As we did with the bodice, now's the time to gather this right hand side of the skirt onto the waistband. Pull on the thread tails to ease the skirt into place, before evenly distributing the gathers and pinning to secure.
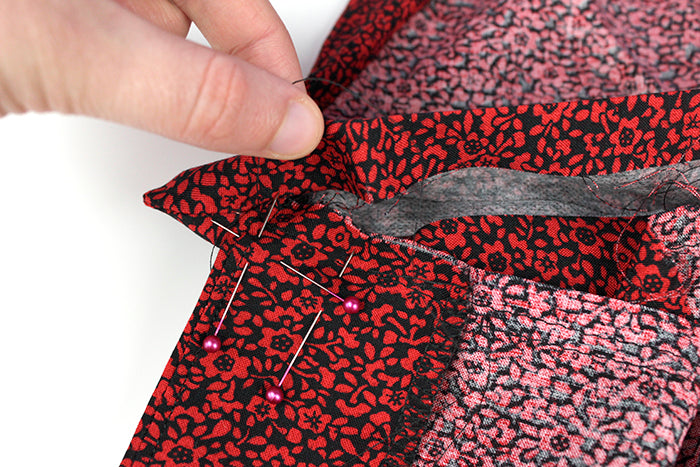
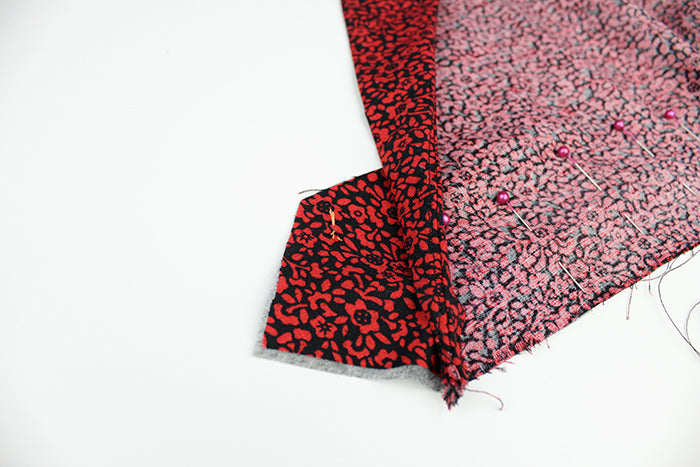
For maximum accuracy, we like to secure the pointed end of the waistband and skirt with horizontal as well as vertical pins. If you find it easier you may also like to pin the lower waistband out of the way before you sew this part.
Stitch the waist seam from the front edge of the skirt on the left hand side to the front edge on the right, using a standard 1.5cm seam allowance.

On the left hand side, with the flat end of the waistband, stitch over the folded seam allowance of the waistband to anchor it in place.

You stitching will finish on the right hand side, right at the bottom of the waistband point.
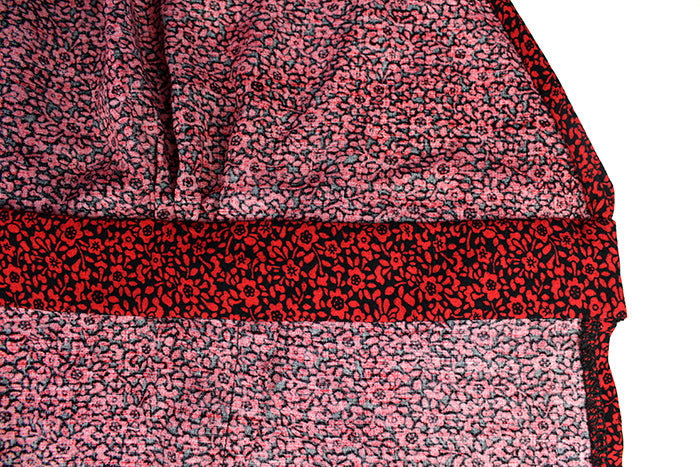
You now have an attached bodice and skirt, and therefore something that looks very much like a dress!
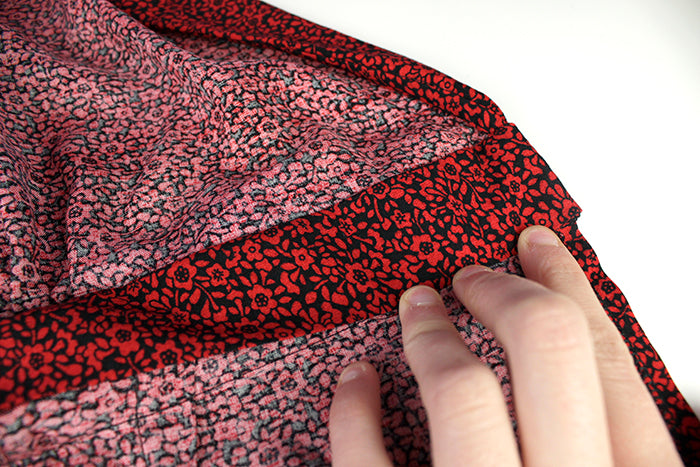
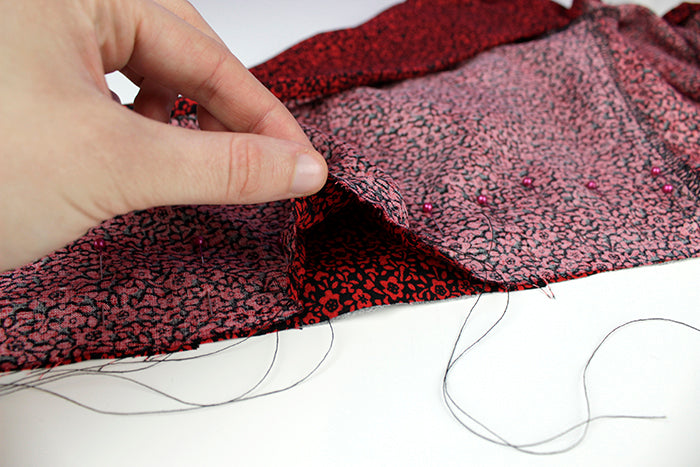
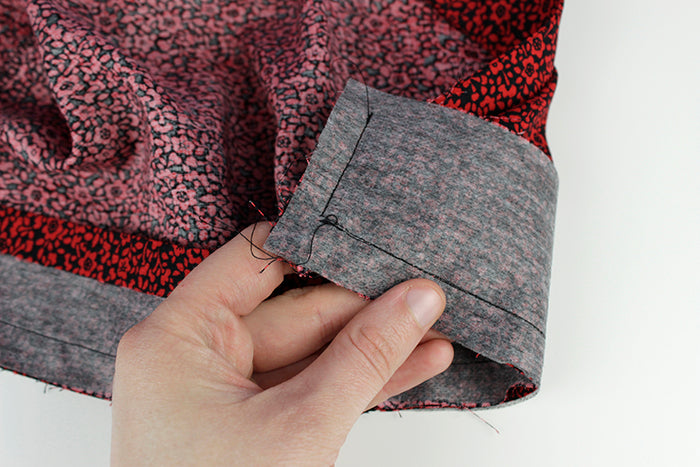
Now, from the inside, press the skirt and waistband seam allowances upwards, and fold the lower waistband flat, to nice and neatly hide the seam allowances.
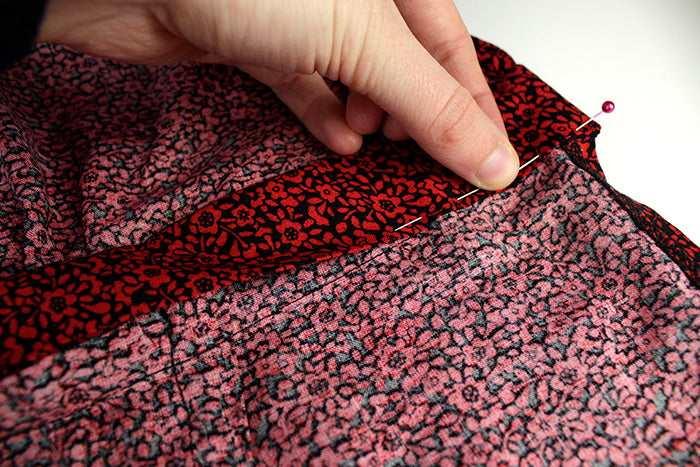
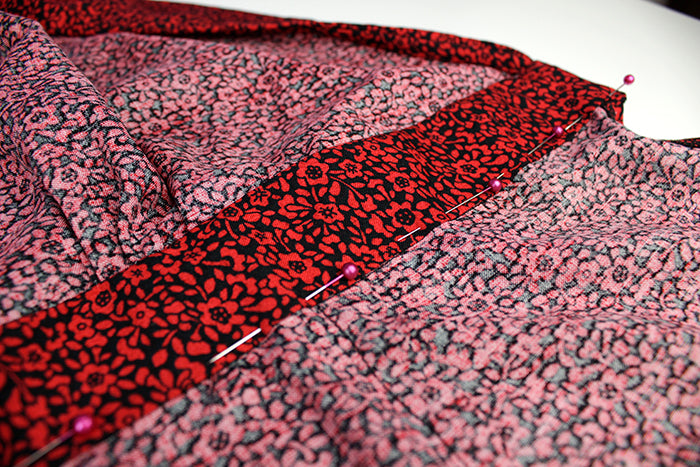
Pin the lower waistband in place, ensuring the pressed folded edge just covers the seam line.
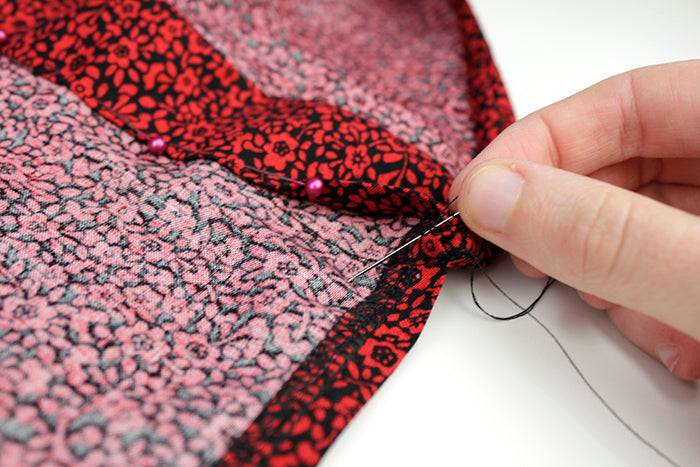
With a needle and thread, slip stitch the waistband closed by hand, all the way along the waistline. Try to keep your stitches invisible from the outside of the dress by only picking up one or two threads of the outer fabric. Each time you reach a seam or dart, make sure to do an extra secure double stitch for added strength.
All the raw edges of the seam allowances will be hidden inside, creating a lovely finish.

Once you get to the pointed end of the waistband, you might find you have a tiny gap at the base of the point. If so, just keep going, slip stitching any gaps closed. And voila!
You have a gorgeously neat waistband and a dress you can now pop on and twirl in!
Now all you have to do is to hem the dress and sew a buttonhole or some press studs to close the waist! Don't forget to take a picture of your finished dress! Tag us on Instagram using the #SOI1940swrapdress hashtag so we can see!